
Paper mache is a timeless craft that magically transforms simple materials like paper and paste into durable, three-dimensional art. It’s a fun, slightly messy, and incredibly rewarding activity for crafters of all ages. One of the most charming projects you can undertake is creating a paper mache bunny, perfect for spring decor, an Easter centerpiece, or just a whimsical addition to any room.
This project doesn’t require expensive supplies, just a bit of patience and creativity. This guide will provide clear, beginner-friendly instructions on how to make a paper mache bunny, turning recycled materials into a unique, handcrafted treasure.
To begin, gather the materials you’ll need for your paper mache bunny. These include newspaper or scrap paper, flour, water, masking tape, and white glue. For the base structure, you might also need cardboard, a small balloon, or wire to shape the bunny’s body and ears. Once you have everything ready, start by shaping the basic frame of the bunny using your chosen materials, securing the parts together with masking tape. This will serve as the foundation for your paper mache layers.
Understanding Paper Mache Basics
Before diving into creating your paper mache bunny, it’s essential to understand the basics of this versatile craft technique. Paper mache, which translates to “chewed paper” in French, involves creating a paste from simple ingredients like flour and water or using a store-bought adhesive. Strips of paper, typically newspaper, are dipped into the paste and layered over a form or structure.
Once dried, the hardened surface can be painted, decorated, and shaped into a variety of projects. The key to success with paper mache is applying thin layers and allowing adequate drying time between each layer to build a sturdy and smooth structure. With this foundation, you’ll be ready to craft your bunny masterpiece with ease and confidence.
Step-by-Step Guide on How to Make a Paper Mache Bunny
Step 1: Gather Your Materials
Before you start, it is best to gather all your supplies. You will need a balloon for the bunny’s body and a smaller one for the head. You’ll also need newspaper torn into strips about one to two inches wide, and cardboard for the ears and base. For the paste, you can make a simple mixture of one part flour to two parts water, or use a pre-made craft paste like Mod Podge. Have masking tape on hand to build your frame, and acrylic paints and brushes for decorating later. Finally, cover your workspace with a tablecloth or more newspaper to make cleanup easier.
Step 2: Create the Bunny’s Frame
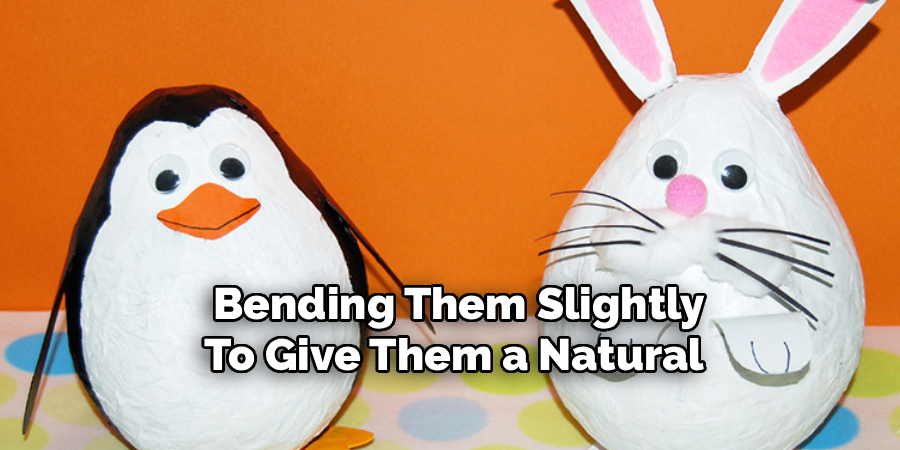
The foundation of your sculpture is its frame. Inflate a medium-sized balloon for the bunny’s body and a smaller balloon for its head. Use masking tape to securely attach the head balloon to the body balloon, creating the basic shape. For the ears, cut two long, rounded ear shapes out of a piece of cardboard. Attach these to the head using more masking tape, bending them slightly to give them a natural, floppy look. You can also create a small cardboard base and tape it to the bottom of the body balloon to ensure your bunny will stand up straight later.
Step 3: Prepare the Paste and Paper
Now it’s time for the messy part. Prepare your paper mache paste in a wide, shallow bowl. If you are making your own, whisk together one part all-purpose flour with two parts water until it reaches a smooth, glue-like consistency, free of lumps. Tear your newspaper into strips; tearing instead of cutting creates softer, feathered edges that blend together more smoothly on your sculpture. You will need a good-sized pile of these strips, so it’s best to prepare them all before you start dipping them into the paste.
Step 4: Apply the First Layer
Take one strip of newspaper, dip it into your paste mixture, and run it between your fingers to wipe off the excess. You want the strip to be fully saturated but not dripping wet. Lay this strip over your balloon frame. Continue this process, overlapping the strips slightly, until the entire frame—body, head, and ears—is covered with one complete layer. It’s important to lay the strips in different directions to build up strength. This first layer is the foundation, so ensure every part of your frame is covered.
Step 5: Build Up the Layers
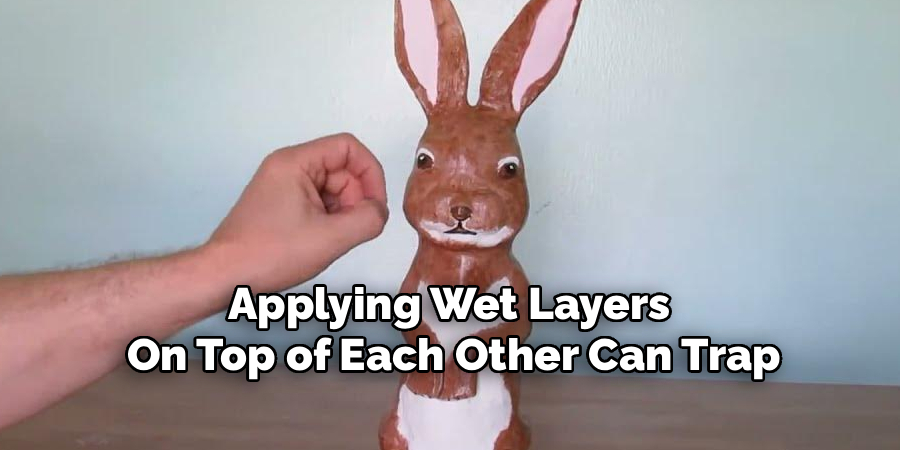
For a strong and durable bunny, you will need to apply multiple layers of paper mache. It is crucial to let each layer dry completely before adding the next one. Applying wet layers on top of each other can trap moisture, which may lead to mold. Place your bunny in a warm, well-ventilated area to dry. Depending on humidity, this can take several hours. Once the first layer is hard to the touch, apply a second layer. For a really sturdy sculpture, aim for at least three to four complete layers of paper mache.
Step 6: Let the Bunny Dry Completely
This step requires patience but is one of the most important for a successful project. After you have applied your final layer of paper mache, you must let the bunny dry completely. This can take 24 to 48 hours, or even longer, depending on the thickness of your layers and the humidity in your workspace. You will know it is fully dry when the entire surface feels hard and is no longer cool to the touch. Rushing this step will make painting difficult and could compromise the structure of your bunny.
Step 7: Pop the Balloons and Prime for Painting
Once your bunny is bone-dry and completely hard, you can pop the balloons inside. Use a pin or the tip of your scissors to puncture the balloons through a small uncovered spot, or simply press on the surface until you hear them pop. They will deflate inside your hollow sculpture. Now your bunny is ready for paint. To ensure a vibrant and even color, it is a great idea to first apply a coat of white acrylic paint or gesso. This acts as a primer, covering up the newsprint and giving you a blank canvas.
Advanced Paper Mache Techniques
For those looking to take their paper mache skills to the next level, there are a variety of advanced techniques you can explore. One method is to incorporate wire armatures into your projects. By shaping a lightweight wire skeleton, you can create intricate and durable structures, providing a strong base for your paper mache layers. Another technique is to use textured materials, like tissue paper or fabric, in your layering process.
This creates unique surface patterns that add depth and character to your sculptures. Additionally, experimenting with additives like PVA glue or wood glue in your paste can create a smoother finish and improve the strength of your artwork. Finally, consider using molds or stencils to achieve precise shapes and refined details. With practice, these techniques can help transform your paper mache creations into professional-level masterpieces.
Frequently Asked Questions (FAQ)
What Is the Best Paper Mache Paste Recipe?
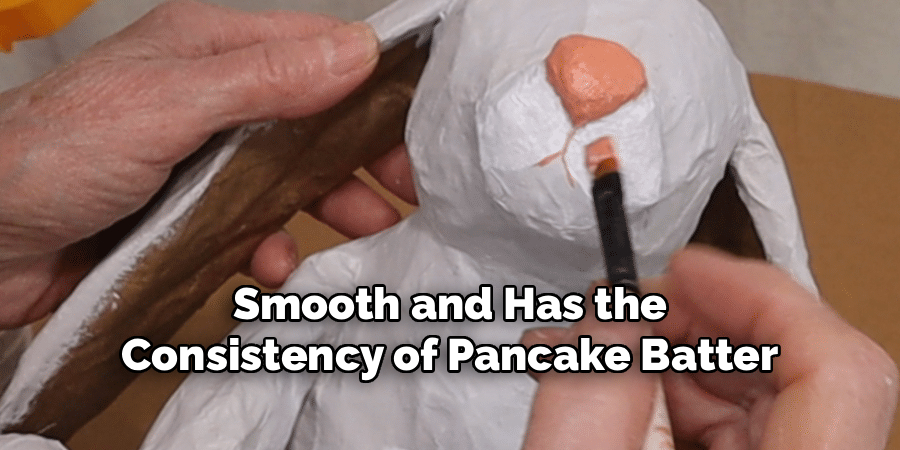
The classic, most accessible paste is a simple mixture of flour and water. A good ratio to start with is one part all-purpose flour to two parts water. Whisk it until it is smooth and has the consistency of pancake batter. For a stronger, more archival paste that is less prone to molding, you can use white PVA glue (like Elmer’s glue) thinned with a little water.
How Many Layers of Paper Mache Do I Need?
For a small, decorative piece like a bunny, three to four layers are generally sufficient to create a hard, durable shell. It is critical to allow each layer to dry completely before adding the next. If you try to apply too many wet layers at once, the project will take a very long time to dry and may even collapse or grow mold.
My Paper Mache Isn’t Drying. What Did I Do Wrong?
If your project is taking an exceptionally long time to dry, it’s likely due to one of two things: the paper strips were too wet, or the drying environment is too humid. Make sure you are squeegeeing excess paste off the newspaper strips. To speed up drying, place your bunny in a warm, dry area with good air circulation. You can even use a fan on a low setting to help.
Can I Use Something Other Than a Balloon for the Frame?
Yes, absolutely! While balloons are perfect for rounded shapes, you can create a frame from many different materials. A great method is to crumple up newspaper into your desired shapes (like a body, head, and limbs) and use masking tape to hold it all together. This technique gives you more control over the final form of your sculpture.
How Do I Get a Smooth Finish on My Paper Mache?
For a smoother surface, you can do a couple of things.
- Use smaller strips of paper, as they conform better to curves.
- For the final layer, you can use paper towels or plain tissue paper instead of newspaper.
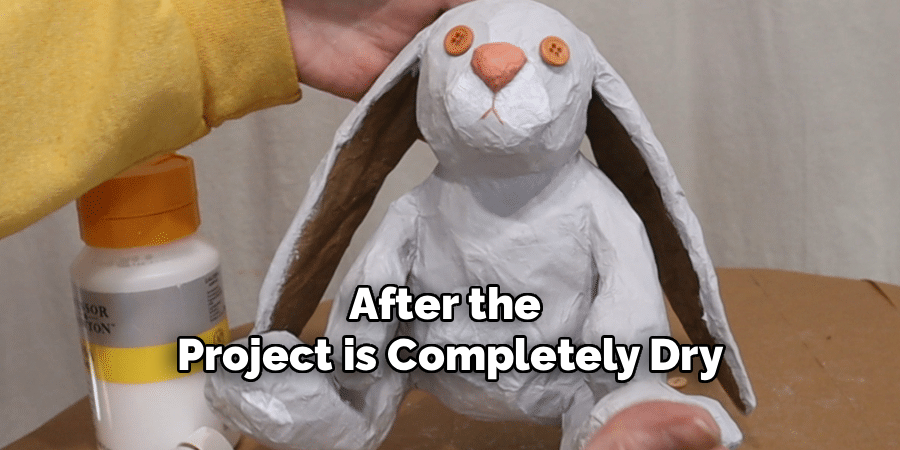
- After the project is completely dry, you can lightly sand the surface with fine-grit sandpaper before priming and painting.
Conclusion
Creating something wonderful from the simplest of materials is a special kind of magic, and paper mache is the perfect medium for it. The process of building a frame, applying the sticky strips, and finally painting a unique personality onto your creation is a delightful journey. It teaches patience and celebrates creativity, resulting in a charming piece of art that you made with your own hands. Now that you have this guide on how to make a paper mache bunny, you are ready to dive into this classic craft and create a whimsical friend for your home.