
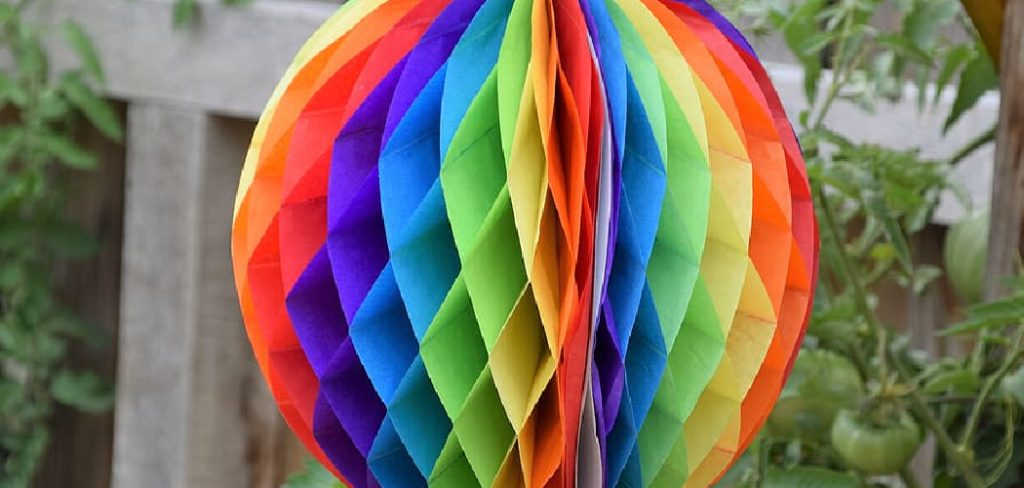
Paper lanterns add a touch of magic to any space, casting a soft, ambient glow that creates an atmosphere of warmth and celebration. Whether you’re decorating for a party, adding a whimsical element to a bedroom, or looking for a fun and affordable craft project, making your own paper lanterns is a rewarding experience. It’s a simple project that transforms basic materials like paper and glue into a stunning, three-dimensional piece of art. This guide is designed for complete beginners and will provide clear, easy-to-follow instructions on how to make a paper lantern ball, proving you don’t need to be an expert crafter to create something beautiful.
Paper lanterns have been cherished for centuries across various cultures, symbolizing celebration, creativity, and illumination. Crafting your own paper lantern ball can not only be a gratifying experience but also allow you to personalize its design to suit any occasion or space. By following a few straightforward steps and using readily available materials, you can create a unique decoration that radiates charm and warmth. Whether you’re crafting for a holiday, a special event, or just for fun, this project invites you to explore your creativity and add a handmade touch to your decor.
Materials Needed
- Tissue paper in various colors
- Scissors
- Ruler
- Pencil
- Glue stick
- String or ribbon
- Balloon
- LED tea light (optional)
Step-by-Step Guide on How to Make a Paper Lantern Ball
Step 1: Gather Your Crafting Materials
Before you begin, gather all the necessary supplies. The most important item is your paper. You can use decorative scrapbook paper, colorful construction paper, or even plain cardstock that you decorate yourself. For one lantern, you will need at least two sheets of paper in the same or complementary colors. You will also need a ruler, a pencil, a pair of scissors or a craft knife, a glue stick or craft glue, and a length of string or ribbon for hanging. Having all your materials organized and ready will make the crafting process smooth and enjoyable from start to finish.
Step 2: Cut Your Paper into Identical Strips
The body of the lantern is made from a series of paper strips. Take your sheets of paper and decide on the width of your strips. A width between half an inch and one inch works best for most lantern sizes. Using your ruler and pencil, carefully measure and mark the strips on your paper. For a full-looking lantern, you will need between 16 and 20 strips in total. Use your scissors or a craft knife with a ruler to cut the strips as straight and uniformly as possible. Identical strips are key to creating a symmetrical and well-balanced final shape.
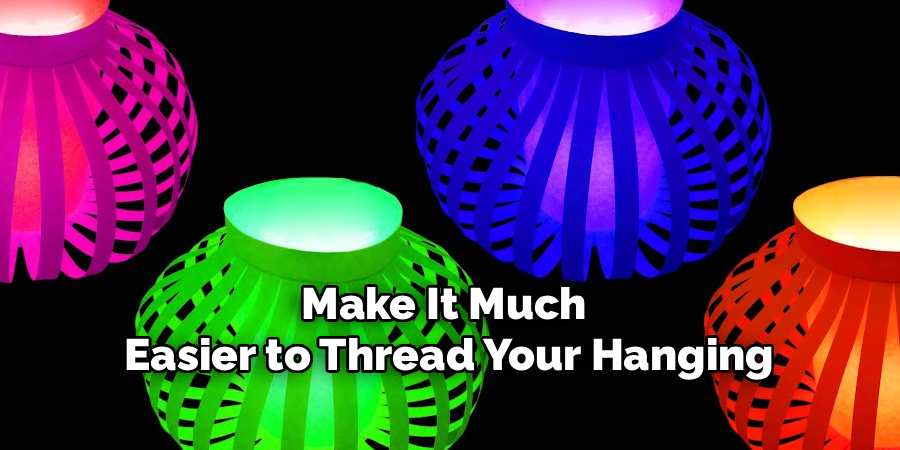
Step 3: Create a Top and Bottom Anchor
To hold all the strips together, you will need a small anchor for the top and bottom of your lantern. An easy way to do this is to cut out two small circles from a scrap piece of cardstock, about one inch in diameter. These circles will serve as the central points where all the strips converge. If you have a hole punch, it is a good idea to punch a hole in the center of each circle now. This will make it much easier to thread your hanging string through later on.
Step 4: Attach the Strips to the Bottom Anchor
Now it is time to start assembling the lantern. Take one of your paper circles and apply a generous amount of glue to it. Begin attaching your paper strips to the circle one at a time, arranging them in a starburst pattern. Overlap the ends of the strips so they radiate out from the center of the circle. Continue adding strips all the way around until you have an even, circular arrangement. Let the glue dry for a few minutes to ensure the base is secure before you move on to the next step.
Step 5: Form the Ball Shape
This is the magical step where your lantern takes its three-dimensional shape. Take the second paper circle and apply glue to it. One by one, take the free end of each paper strip and gently bend it upward and inward to meet at the top. Glue the end of the strip onto the top paper circle. As you attach each strip, you will see the spherical shape begin to form. Be gentle during this process to avoid creasing or tearing the paper strips. Make sure to attach the strips in the same order you did on the bottom for a uniform look.
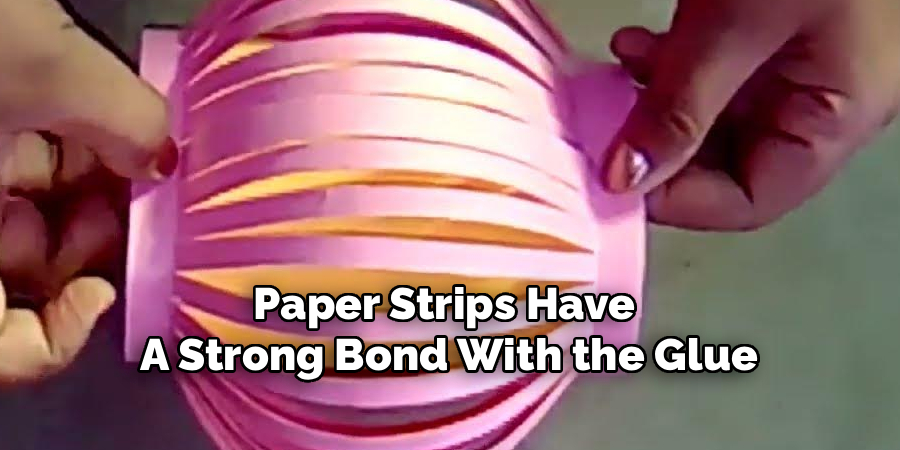
Step 6: Secure the Top and Allow the Glue to Dry
Once all the strips are glued to the top anchor circle, your paper lantern ball is fully formed. You may need to gently adjust some of the strips to ensure they are evenly spaced and the sphere is symmetrical. Press down firmly on the top circle to make sure all the paper strips have a strong bond with the glue. Set the lantern aside and allow it to dry completely. This could take anywhere from 15 minutes to an hour, depending on the type of glue you used. A fully dry lantern will be much sturdier.
Step 7: Add a Hanging String or Ribbon
With your lantern fully assembled and dry, the final step is to add a way to hang it. Cut a length of string, ribbon, or fishing line. Thread it through the hole you punched in the top anchor circle and then down through the hole in the bottom anchor circle. You can tie a large knot or attach a bead to the bottom end of the string to keep it from pulling through. At the top, create a loop and tie a knot so you can easily hang your beautiful creation.
Exploring Different Lantern Designs
Lanterns come in an array of designs, each offering its own unique aesthetic and purpose. Traditional paper lanterns, commonly found in East Asian cultures, are often round or cylindrical and decorated with intricate patterns or characters. For a modern twist, geometric lanterns featuring clean lines and metallic accents have gained popularity, providing a sleek and contemporary look. Nature-inspired designs, such as lanterns shaped like flowers or animals, bring a whimsical charm that fits perfectly in garden settings. Some lanterns incorporate stained glass elements, casting colorful light patterns when illuminated, while others emphasize rustic materials like wood and burlap to create a cozy, vintage feel. The possibilities are endless, and each design allows you to reflect your personal style and creativity.
Frequently Asked Questions (FAQ)
What Is the Best Kind of Paper to Use?
The best paper is one that is sturdy enough to hold its shape but flexible enough to bend without creasing.
- Cardstock: A lightweight cardstock (around 65 lb) is a great choice as it’s durable and comes in many colors.
- Scrapbook paper: This is often decorative and the perfect weight for this project.
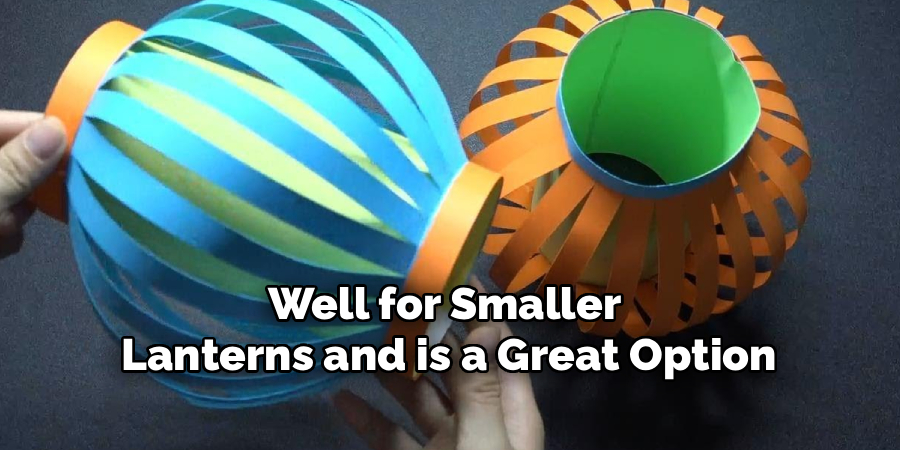
- Construction paper: While more flexible, it can work well for smaller lanterns and is a great option for kids’ crafts.
Can I Put a Real Light Inside My Paper Lantern?
No, you should never put a real candle or a hot incandescent bulb inside a handmade paper lantern. It is a serious fire hazard. If you want to illuminate your lantern, you must use a cool light source. A battery-operated LED tealight or a small string of LED fairy lights are both safe and beautiful options that will not generate heat.
How Can I Make a Larger or Smaller Lantern?
You can easily adjust the size of your lantern by changing the length and number of your paper strips. For a larger lantern, use longer strips of paper. For a smaller, more compact lantern, use shorter strips. The width of your strips can also affect the look; wider strips will create a lantern with a more solid appearance.
My Lantern Seems a Bit Lopsided. How Can I Fix It?
A lopsided shape is usually caused by uneven strip lengths or inconsistent placement on the anchor circles. Before your glue dries completely, gently adjust the strips to make them as symmetrical as possible. Using a ruler to ensure all your strips are exactly the same length is the best way to prevent this issue from the start.
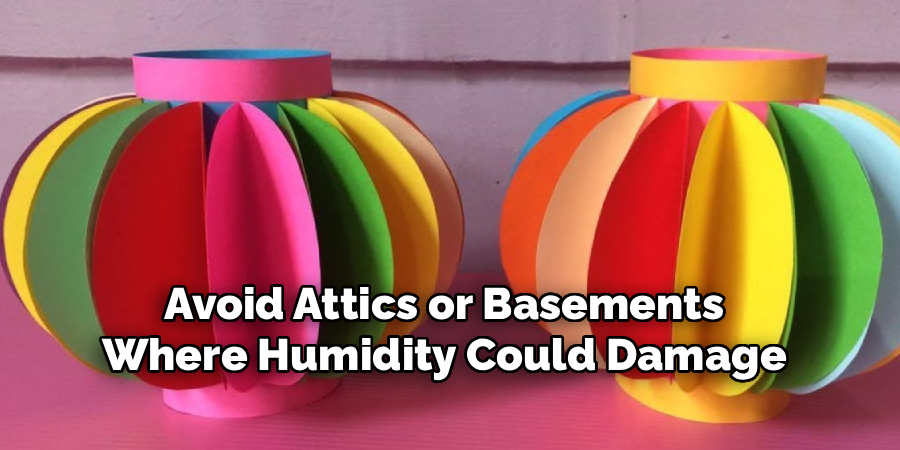
How Do I Store My Paper Lanterns Without Damaging Them?
Paper lanterns are delicate. To store them, you can gently nest smaller ones inside larger ones. It is best to wrap them individually in tissue paper to prevent them from getting caught on each other. Store them in a sturdy box in a dry place where they will not be crushed. Avoid attics or basements where humidity could damage the paper.
Conclusion
Creating something beautiful with your own hands is a uniquely rewarding experience, and a paper lantern ball is a perfect example of a simple craft with a stunning result. The process is a mindful one, turning flat strips of paper into a delicate, three-dimensional sphere. The key is in the preparation: cutting uniform strips and allowing the glue to dry properly. By following these simple steps, you can create elegant decorations for any occasion. Now that you have this guide on how to make a paper lantern ball, you are ready to start a fun project that will fill your space with beauty and a soft, gentle light.