
Paper mache is a timeless craft, loved by artists, teachers, and kids for its incredible versatility. It allows you to create everything from simple bowls to elaborate masks and sculptures using just paper and an adhesive paste. But what if you find yourself halfway through a project idea and realize you’re out of school glue? Or perhaps you’re looking for a non-toxic, all-natural alternative that’s safe for even the youngest crafters. Fortunately, the solution is likely already in your kitchen pantry. This guide will provide clear, beginner-friendly instructions on how to make paper mache without glue, using a simple and effective flour-and-water paste.
To create your flour-and-water paste, start by gathering your materials. You’ll need all-purpose flour, water, a mixing bowl, and a whisk or spoon for stirring. Begin by measuring out equal parts of flour and water—typically, one cup of each works well for small projects. Combine the flour and water in the bowl, mixing thoroughly until the paste reaches a smooth, lump-free consistency. Adjust the ratio slightly if needed; the paste should have a texture similar to pancake batter. Once mixed, your paste is ready to use, providing a strong and eco-friendly adhesive for your paper mache creations.
Understanding Paper Mache Basics
Paper mache is a versatile craft technique with endless creative possibilities. At its core, paper mache involves layering pieces of paper soaked in a glue-like paste onto a mold or surface, allowing it to dry and harden into the desired shape. The technique is simple yet effective, requiring minimal materials and tools, making it accessible for all skill levels. Commonly used materials include newspaper, tissue paper, or any thin, absorbent paper that can easily conform to shapes. Patience is key, as each layer needs time to dry before adding the next, ensuring a sturdy and durable final product. Whether creating masks, sculptures, or decorative items, paper mache offers an enjoyable and rewarding crafting experience.
Step-by-Step Guide on How to Make Paper Mache Without Glue
Step 1: Gather Your Simple Materials
The beauty of this method is its simplicity. You only need a few basic household items to get started. You will need all-purpose flour, water, a mixing bowl, and a whisk or spoon. For your paper, newspaper is the classic choice because it is absorbent and readily available. You can also use paper towels, construction paper, or even scrap computer paper. Finally, you will need a base form or mold to build your creation on. This could be an inflated balloon, a cardboard box, or a shape made from crumpled aluminum foil.
Step 2: Prepare Your Paper Strips
Before you mix your paste, it is best to have all your paper strips ready to go. Tear your newspaper or other paper into strips. Do not use scissors, as the torn, feathered edges will blend together more smoothly than sharp, cut edges, resulting in a less lumpy final product. The ideal size for your strips is about one to two inches wide and around six inches long. The exact size isn’t critical, but this general dimension is manageable and works well for most projects. You will need a large pile of these strips, so prepare more than you think you’ll need.
Step 3: Mix the Flour and Water Paste
This is the heart of the glue-free method. In your mixing bowl, combine one part all-purpose flour with one to two parts water. A good starting ratio is one cup of flour to one and a half cups of water. Begin to whisk the mixture together. Your goal is to create a consistency similar to pancake batter or a thin gravy—smooth enough to soak the paper but thick enough to stick. If the paste is too thick and lumpy, slowly add more water. If it is too thin, add a little more flour. Whisk thoroughly until all the major lumps are gone.
Step 4: Prepare Your Workspace
Paper mache is a wonderfully messy craft, so preparing your workspace is a crucial step to make cleanup easier. Lay down a generous amount of newspaper, a plastic tablecloth, or a drop cloth to protect your table or floor. Have your bowl of paste, your pile of paper strips, and your base form all within easy reach. It is also a good idea to have a damp cloth or a roll of paper towels nearby for wiping your sticky fingers as you work. This simple setup will let you focus on the creative process without worrying about the mess.
Step 5: Apply the First Layer of Strips
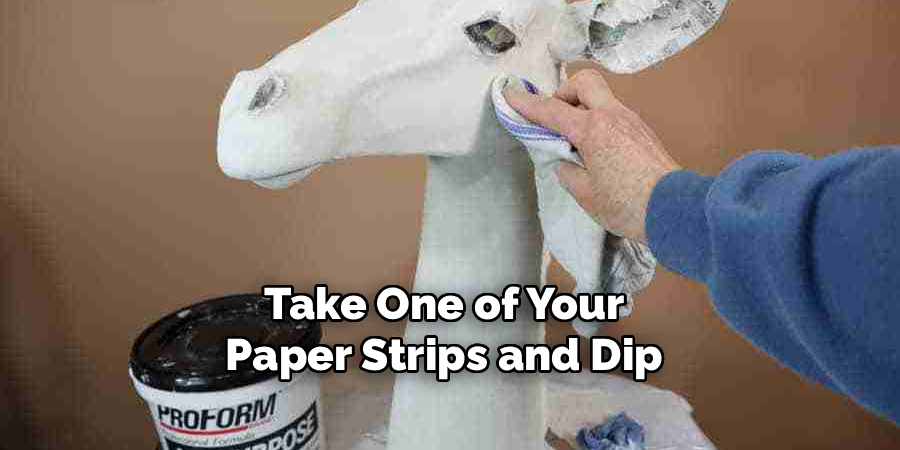
Now the construction begins. Take one of your paper strips and dip it completely into the flour paste. Run the strip between two of your fingers to squeegee off any excess paste; you want the strip to be fully saturated but not dripping wet. Lay the wet strip flat against your form. Use your fingers to smooth it down, removing any air bubbles or wrinkles. Continue this process with more strips, overlapping them slightly to create a continuous, solid layer that completely covers your form.
Step 6: Build Up Additional Layers
A single layer of paper mache will be very fragile. To create a strong, durable object, you need to build up multiple layers. It is generally best to let each layer dry slightly before adding the next, but you can apply two to three layers while the project is still wet. For a sturdy, long-lasting creation, aim for a minimum of three to five layers in total. You can alternate the direction of your paper strips with each layer (e.g., one layer horizontal, the next vertical), which will add significant structural strength to the final piece.
Step 7: Let Your Creation Dry Completely
This step requires patience but is absolutely critical for success. Your paper mache creation must dry completely before you can paint or decorate it. The drying time will vary depending on the size of your project, the number of layers, and the humidity in your environment. It can take anywhere from 24 hours to several days. Place your project in a warm, well-ventilated area to speed up the process. You will know it is completely dry when it feels hard and cool to the touch and there are no damp spots.
Step 8: Remove the Form and Decorate
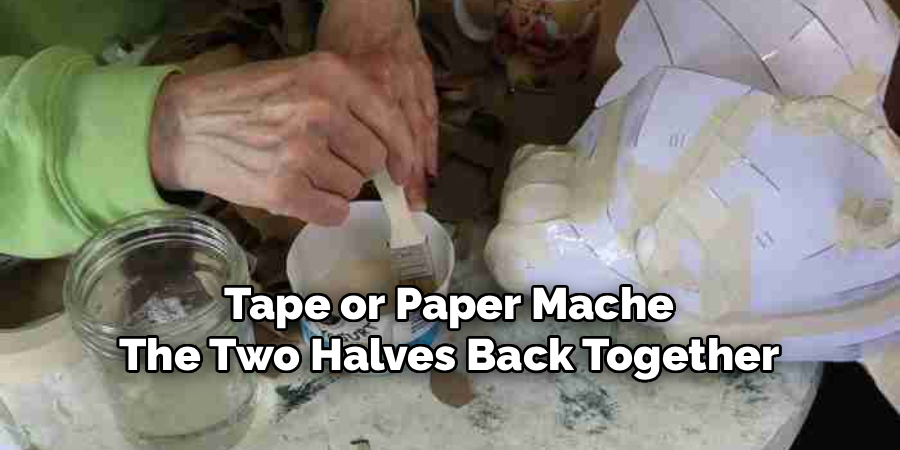
Once your project is bone-dry, you can remove the base form. If you used a balloon, you can simply pop it and pull it out. For other solid forms, you may need to carefully cut your paper mache object in half with a craft knife, remove the form, and then tape or paper mache the two halves back together. Now comes the most exciting part: decorating! You can paint your creation with acrylic craft paints, draw on it with markers, or glue on decorations like fabric, yarn, or glitter.
Advanced Paper Mache Techniques
For those looking to take their paper mache projects to the next level, there are several advanced techniques to explore. One popular method is creating complex shapes and textures using armatures. Armatures are supportive structures made from materials such as wire, aluminum foil, or cardboard, which provide a sturdy framework for your paper mache. This technique is perfect for crafting detailed sculptures or larger pieces that require additional support.
Another advanced approach involves incorporating layers of fine detailing with tissue paper or thin cardboard to add intricate patterns or realistic textures. For example, you can use tissue paper to mimic the appearance of scales, fur, or feathers. Additionally, experimenting with different paste recipes—like using glue mixed with water for a glossier finish or flour-based paste for a more matte appearance—can allow more precise control over the final look and feel.
Frequently Asked Questions (FAQ)
How Does a Flour and Water Paste Work?
The paste works because flour contains starches. When you mix flour with water, the starch molecules swell and create a sticky, adhesive substance. As the water evaporates during the drying process, these starches harden and bond the paper fibers together, creating the rigid structure that is characteristic of paper mache. It’s a simple, natural chemical reaction.
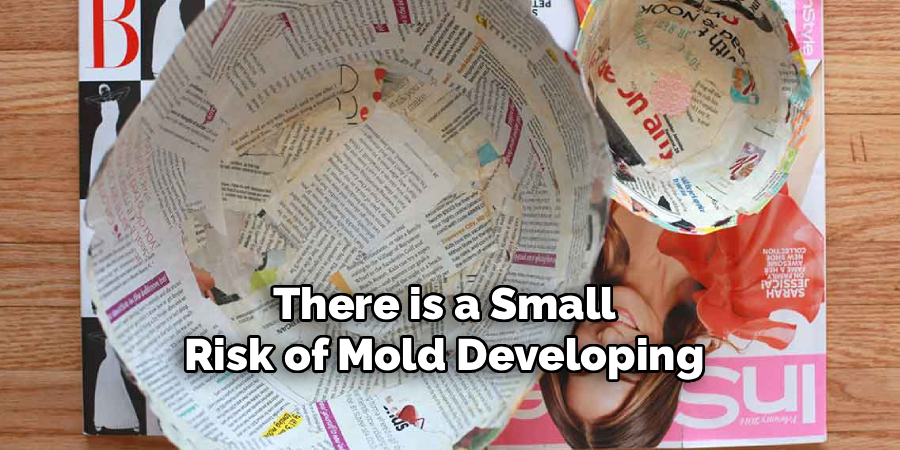
Will My Paper Mache Project Mold?
Because the paste is made from organic materials, there is a small risk of mold developing if the project does not dry quickly enough. To prevent this, you can add a few tablespoons of salt to your flour and water mixture, which acts as a natural preservative. Most importantly, ensure your project dries completely in a warm, well-ventilated area.
What Is the Best Ratio of Flour to Water?
A good starting point is a 1:1.5 ratio (one part flour to one and a half parts water). However, the perfect consistency is a matter of preference. You’re looking for a smooth paste similar to pancake batter.
- If it’s too thick, it will be lumpy and hard to work with.
- If it’s too thin, it won’t have enough sticking power.
Adjust by adding small amounts of either flour or water until you get it right.
Is Paper Mache Made with Flour as Strong as Glue?
Yes, when done correctly, a flour-based paper mache project can be just as strong and durable as one made with white school glue. The key to strength is applying multiple layers (at least 3-5) and allowing the project to dry completely and harden between stages if you are building up many layers. The final hardened shell will be surprisingly robust.
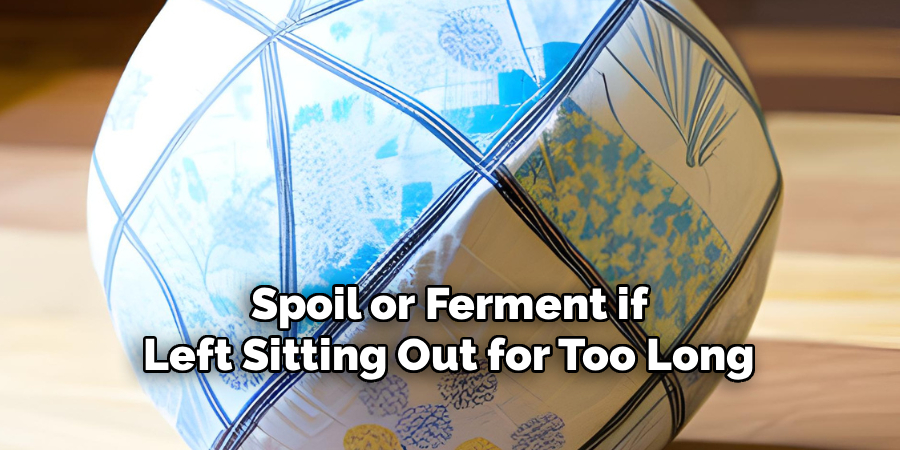
Can I Make the Flour Paste Ahead of Time?
It is best to make the flour and water paste fresh for each crafting session. Since it’s made of natural ingredients, it can begin to spoil or ferment if left sitting out for too long, developing a sour smell. Because the paste is so quick and easy to mix together, there is little benefit to making it far in advance.
Conclusion
Creating with paper mache is a magical process, transforming flimsy paper and simple paste into a solid, lasting object. You don’t need a bottle of commercial glue to unlock this creative potential; a scoop of flour and a bit of water are all it takes to make a strong, reliable adhesive. The process is a rewarding exercise in patience, from preparing the strips to applying each layer and waiting for it to dry. Now that you have this guide on how to make paper mache without glue, you are ready to dip into this classic craft and bring your own imaginative creations to life.