
Creating crafts from simple materials like paper is a fantastic way to unleash your creativity and make something fun. This guide will walk you through making an adorable and spooky paper bat, perfect for Halloween decorations, themed parties, or just a fun afternoon activity with the family. It’s an accessible project for all skill levels.
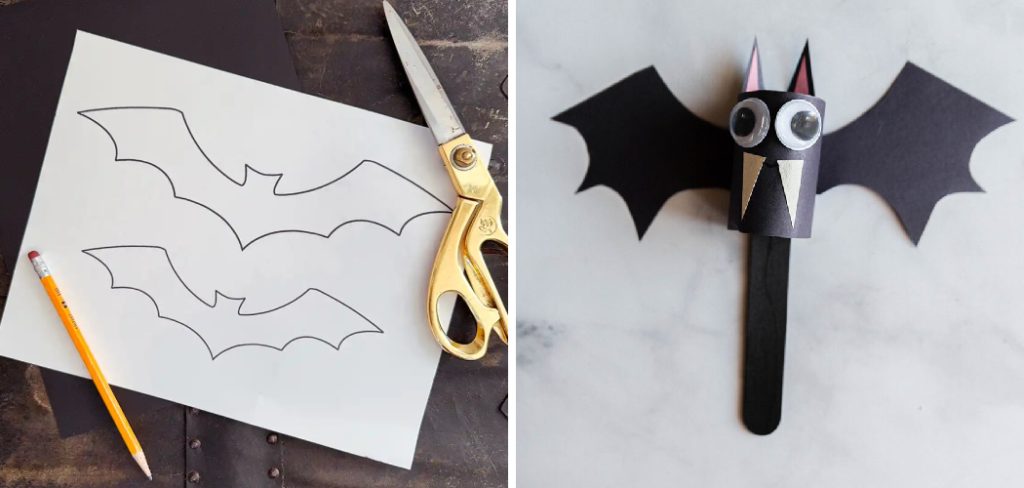
This project requires only a few basic supplies you likely already have at home. We will cover everything from gathering your materials to adding the final decorative touches. By following these straightforward instructions on how to make a bat on paper, you’ll be able to create a whole colony of paper bats to hang around your home in no time. Let’s get started on this simple and enjoyable craft.
Tools and Materials You’ll Need:
- Black construction paper or cardstock (8.5 x 11 inches or A4 size)
- Scissors
- Pencil or white crayon for tracing
- Glue stick or white craft glue
- Googly eyes (optional)
- White or silver gel pen (optional, for details)
- String or fishing line for hanging
8 Simple Step-By-Step Guidelines on How to Make a Bat on Paper
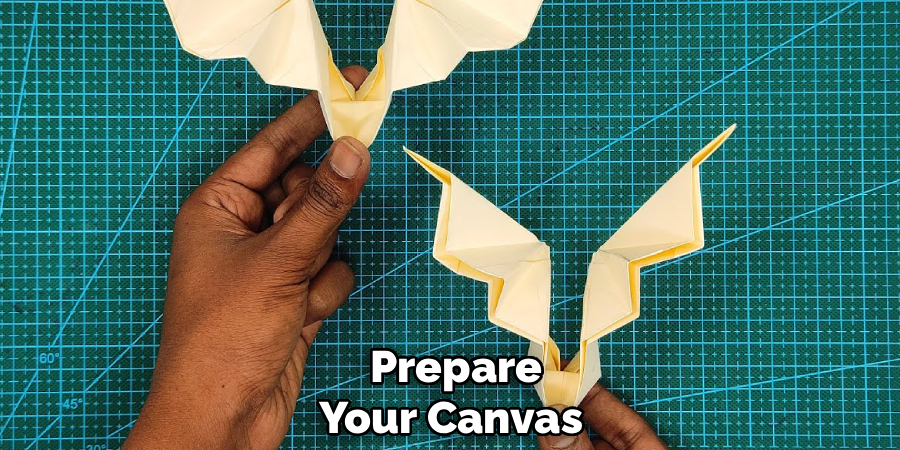
Step 1: Prepare and Fold Your Paper
The first step is to prepare your canvas, which in this case is a single sheet of black construction paper. Lay the paper flat on a clean, dry surface. The standard 8.5 x 11-inch size works perfectly for this project, but you can use any rectangular sheet. Take one of the shorter sides and fold it over to meet the adjacent long side, creating a large triangle and a small rectangular strip at the bottom. This fold is crucial as it creates the square base needed for the bat’s body and symmetrical wings.
Once you have made a crisp crease along the diagonal fold, you can address the leftover rectangular strip. Carefully cut this strip off using your scissors, following the edge of the triangle. You can discard this small piece or save it for another craft project. When you unfold the triangle, you will be left with a perfect square. This square shape is the foundation for creating a symmetrical bat, ensuring that both wings will be identical in size and shape after you draw and cut them.
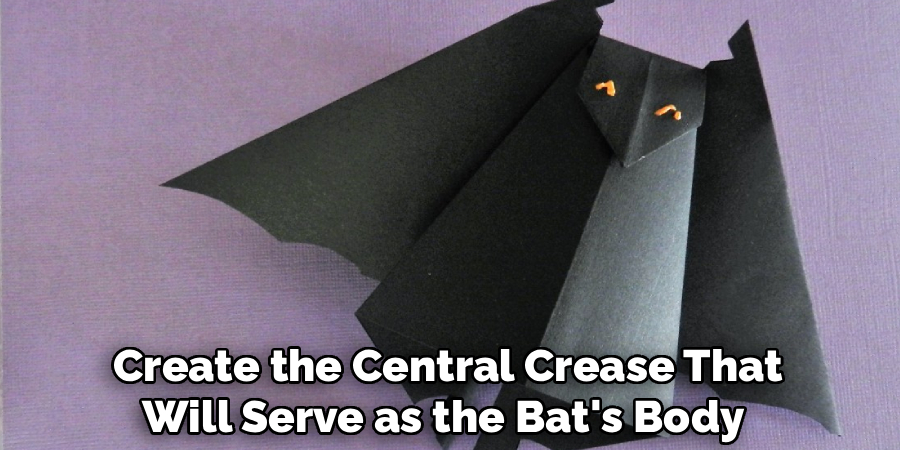
Step 2: Fold the Square in Half
Now that you have your perfect square of black paper, the next step is to create the central crease that will serve as the bat’s body. Lay the square flat in front of you. Take one corner and fold it over to meet the opposite corner, creating a triangle. Press down firmly along the fold to make a sharp, defined crease. This initial fold establishes the main symmetrical line for your project. Unfold the paper back into a square, and you will see a diagonal line running across it.
Next, you will repeat this process with the other two corners. Take one of the remaining corners and fold it over to meet its opposite, again forming a triangle. Crease this fold firmly just as you did before. When you unfold the paper this time, you should see two diagonal creases that intersect in the exact center of the square, forming an ‘X’ shape. These guidelines are essential for the upcoming steps, ensuring your bat’s body and wings are properly aligned and proportionate.
Step 3: Create the Bat’s Body Fold
With your creased square ready, it’s time to form the basic shape of the bat’s body. Place the square on your work surface so it looks like a diamond. Take the bottom point of the diamond and fold it upwards to meet the center point where the ‘X’ creases intersect. Press down firmly on this new fold to create a crisp edge. This fold creates a smaller, flat-bottomed shape that begins to define the lower part of the bat’s body and separates it from the wing sections.
You have now established the base of your bat. The upper part of the paper, which still resembles a large triangle, will become the wings, while the folded section at the bottom will form the core body. This simple fold is a key part of the origami-style construction of the paper bat, giving it dimension and a clear structure. Ensure your fold is straight and secure before moving on, as this will affect the overall neatness and final appearance of your craft.
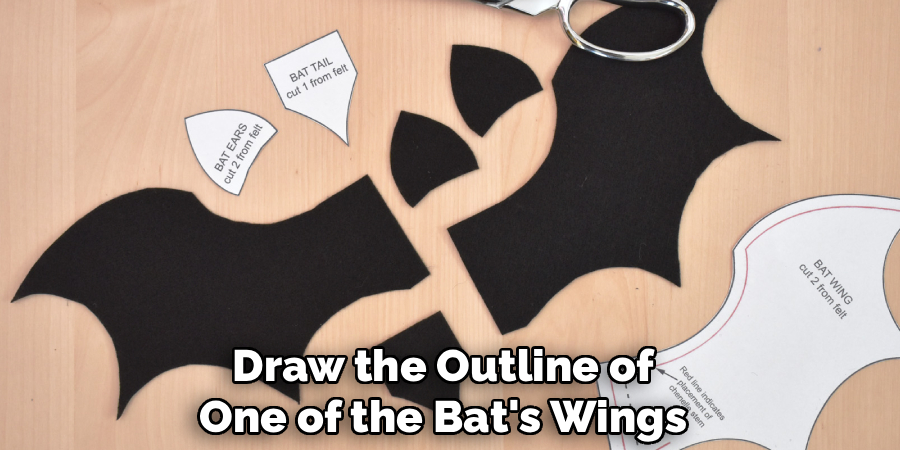
Step 4: Draw the Wing Shape
This step is where your artistic flair comes into play. With the paper folded as described in the previous step, you will now draw the outline of one of the bat’s wings. Using a pencil or, for better visibility on black paper, a white crayon or gel pen, start drawing from the top point of the paper. You will be drawing on one half of the large triangular section. The goal is to create a scalloped or wavy edge that mimics the look of a real bat’s wing.
Begin your line at the top corner and curve it downwards and outwards. You can create two or three rounded “bumps” to form the classic bat-wing shape. The final part of your line should curve back inwards to meet the edge of the folded body section you created in step 3. Don’t worry about making it perfect on the first try; you can always erase and redraw your pencil line until you are happy with the shape. Remember, you only need to draw one wing, as the fold will ensure the other side is a mirror image.
Step 5: Cut Out the Bat Wings
Once you are satisfied with the wing outline you’ve drawn, it’s time to carefully cut it out. Keep the paper folded exactly as it is. Take your scissors and start cutting from the bottom of your drawn line, where it meets the bat’s body. Slowly and carefully follow the scalloped line you drew all the way up to the top point of the paper. Cutting through the folded layers at once is the trick to creating perfectly symmetrical wings, which is a hallmark of a well-made paper bat.
Take your time with the curves to ensure clean, smooth edges. If you are using thicker cardstock, you might need to use sharper scissors and apply more pressure. Once you have completely cut along the line, you can discard the excess paper scraps from the outer edges. Be careful not to accidentally cut into the main body of the bat. This step transforms your folded paper from a simple geometric shape into the recognizable silhouette of a bat.
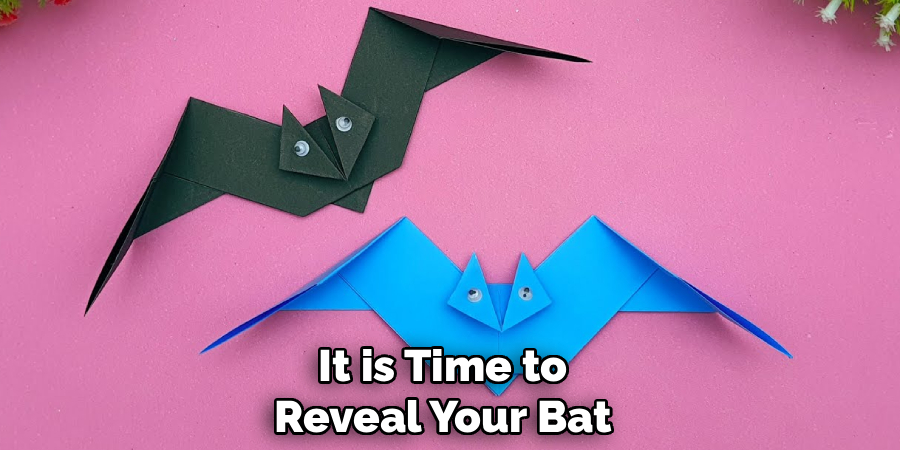
Step 6: Unfold Your Bat
This is the most exciting step, where your creation truly comes to life. With the wing shape fully cut out, it is time to reveal your bat. Carefully unfold the paper. As you open it up, you will see the full bat shape, complete with two perfectly symmetrical, scalloped wings and a defined body in the center. The creases you made earlier will give the bat a subtle three-dimensional quality, with the body slightly raised from the wings.
Gently press the bat flat on your work surface to smooth out any unwanted wrinkles, but be careful not to flatten the central body creases completely. You can gently re-crease the folds that define the body to make them more pronounced. At this point, you have the basic structure of your paper bat. It should have a distinct head at the top, a body running down the center, and two identical wings spreading out on either side.
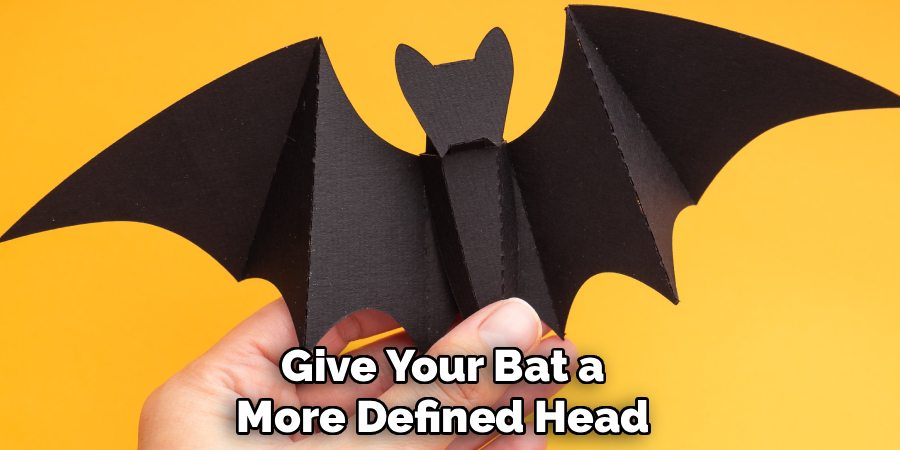
Step 7: Shape the Head
To give your bat a more defined head, you will make one final, simple fold. Locate the top point of the bat’s body, which is the very tip of the central diamond shape. Take this small point and fold it downwards about half an inch to an inch. The size of this fold will determine the size of your bat’s head, so you can adjust it to your preference. A smaller fold creates a smaller head, while a larger one makes it more prominent.
Press down on this fold firmly to create a new crease. This small fold-over not only creates the illusion of a head but also adds another layer of dimension to your paper craft. It provides a flat, stable surface for you to add facial features in the next step. This simple detail makes a big difference in the final look, transforming the pointed top into a more realistic and characterful head shape, distinguishing it clearly from the body and wings.
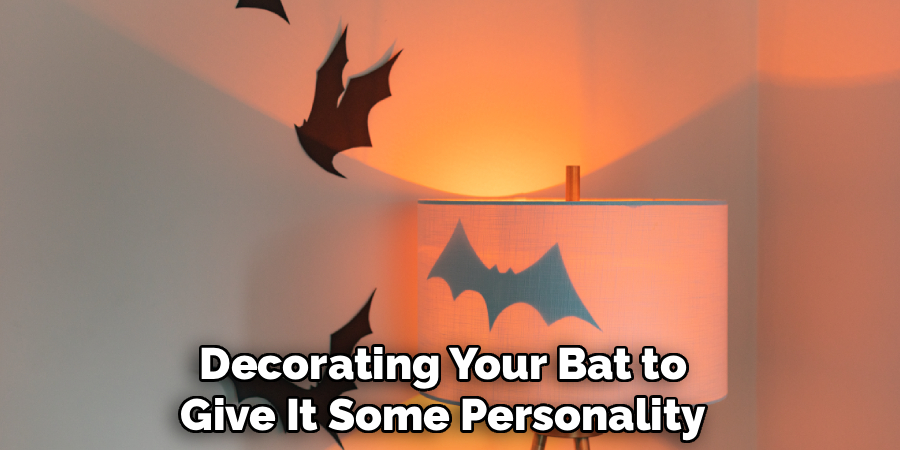
Step 8: Decorate Your Bat
Now for the final and most creative part: decorating your bat to give it some personality. This is where you can truly make the craft your own. The most common decoration is adding eyes. You can use small googly eyes for a fun, cartoonish look. Simply apply a small dot of glue to the back of each googly eye and press them onto the head section you created in the previous step. Place them evenly for a classic look or asymmetrically for a sillier expression.
If you don’t have googly eyes, you can easily draw them on. A white or silver gel pen works wonderfully on black paper. You can draw simple circles for eyes, or add pupils and highlights for more detail. You could also use the pen to draw a small nose, a smiling or fanged mouth, or even add some vein details to the wings for a spookier effect. Let your imagination guide you; you can create a whole colony of bats, each with its own unique personality and expression.
Following these steps on how to make a bat on paper will not only result in a fun and easy art project, but it can also serve as inspiration for other creative ideas. You could try making bats with different colored paper, or even use different shapes and sizes to make a hanging mobile.
Common Mistakes to Avoid
One common mistake is not making your initial folds crisp enough. Weak folds can make the subsequent steps difficult and result in a floppy bat. Always press down firmly. Another error is drawing an overly complex wing design that is hard to cut. Stick to simple, flowing curves. Avoid cutting through the central body fold when cutting out the wings. Also, be careful with glue; using too much can warp the paper or leave messy residue. A glue stick is often cleaner than liquid glue.
How Much Will It Cost?
This is an incredibly budget-friendly craft project, likely costing you very little to nothing at all. Most of the required materials, such as paper, scissors, and a pencil, are common household or school supplies. A pack of black construction paper is typically very affordable, costing only a few dollars for a pack of 50 sheets, which is enough to create a large colony of bats. Optional items like googly eyes and gel pens are also inexpensive and can be found at any craft store or dollar store. If you have to buy every single item, you could expect to spend under $10 for enough supplies to make dozens of bats.
Q1: Can I Use a Different Color of Paper?
A1: Absolutely! While black is the traditional color for bats and works great for Halloween, there is no rule that says you have to stick with it. You can get creative and use any color you like.
Purple, gray, or even dark blue paper can create a spooky, nocturnal feel. For a more whimsical or party-themed bat, you could use bright colors, patterned scrapbook paper, or even paper with a metallic or glittery finish for a touch of sparkle.
Q2: How Can I Make the Bat Wings Look More Realistic?
A2: To add more realism to the wings, you can introduce a few extra folds after the bat is cut out. Try making gentle accordion folds along the length of each wing, radiating out from the body.
This will give the wings a more textured, membrane-like appearance similar to a real bat. You can also use a white or silver gel pen to draw thin, veiny lines on the wings to mimic the bone structure that supports a bat’s wing, adding another layer of detail.
Q3: What Is the Best Way to Hang the Paper Bats?
A3: For hanging, lightweight string or transparent fishing line is ideal. Cut a piece of string to your desired length. You can attach it to the bat in a couple of ways. The easiest method is to use a small piece of clear tape to secure the string to the back of the bat’s head or body. For a cleaner look, you can use a needle to poke a small hole through the top of the bat’s head and thread the string through, tying a small knot to secure it.
Conclusion
Making a paper bat is a simple, enjoyable, and inexpensive craft that anyone can master. With just a sheet of paper and a few common tools, you can create charming decorations perfect for any spooky occasion or just for fun.
The step-by-step process is easy to follow, and there is plenty of room to add your own creative touches. We hope this guide on how to make a bat on paper has inspired you to try making your own paper bats. Gather your materials, follow the steps, and have fun bringing your own colony of cute or creepy bats to life.