
Crafting paper ninja stars, also known as shuriken, is a timeless hobby that blends creativity with the art of folding. Whether you’re a fan of origami, looking for a unique hands-on project, or simply want to impress your friends, making a paper ninja star can be both a fun and rewarding experience.
While these stars might look harmless, with a few specific folds and techniques, you can actually make a paper ninja star that packs a bit of a punch—enough to leave a mark on a soft target.
Paper ninja stars are not just about having fun; they’re also an impressive way to challenge your patience, focus, and precision. It is important, however, to remember that even though these stars are made out of paper, they can cause injury if misused. This guide on how to make a paper ninja star that hurts will walk you through each step so you can craft your own ninja star that’s sturdy and sharp—while always keeping safety in mind.
Tools and Materials You’ll Need
Before you begin, make sure you have all the necessary materials assembled. Preparation will save you time and make each step smoother.
- 2 sheets of standard A4 or letter-sized paper (sturdy paper works best)
- Ruler (for precise measurement and folding)
- Pencil (optional, for marking guidelines)
- Scissors (optional, for trimming)
- Flat surface for folding
- Patience and attention to detail
Now that you have everything ready, let’s move on to the detailed step-by-step process to make your very own paper ninja star.
10 Step-by-step Guidelines on How to Make a Paper Ninja Star That Hurts:
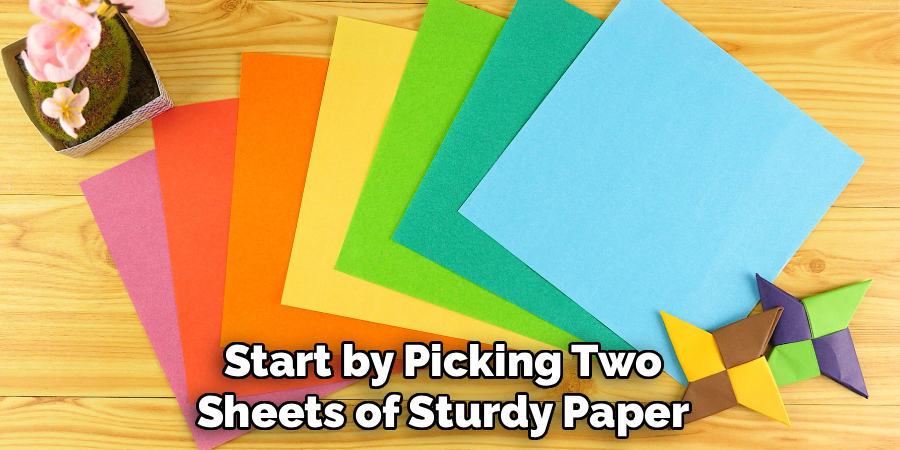
Step 1: Selecting and Preparing Your Paper
Start by picking two sheets of sturdy paper; regular printer paper works perfectly, but you can also experiment with colored or patterned sheets for a unique look. Lay the sheets flat on your work surface and ensure that they aren’t wrinkled or torn. Smooth out any creases with your palm, as this will help make crisp folds later on.
Next, use a ruler and pencil to mark perfect squares if you aren’t using pre-cut origami sheets. Carefully cut along the lines for two 8.5 x 8.5-inch squares. This ensures that both components of your ninja star will fit together cleanly for a strong and symmetrical final product.
Step 2: Making the First Series of Folds
Begin by folding each square in half horizontally to form a rectangle, then unfold and fold vertically to form another crease. These guidelines help with the accuracy of later folds. Precision at this stage is key to a professional-looking ninja star.
After marking your creases, fold each corner into the center point where both creases intersect. This will create a smaller, more manageable shape and establish the basis for sharper points on your ninja star. Repeat for both pieces of paper and set one aside for now.
Step 3: Shaping the Rectangles
Take each folded square and fold it once more in half to form narrow rectangles. Make sure all edges align, pressing each fold firmly to keep the paper compact. The firmer the creases, the sharper the edges of your final star.
After folding both pieces into rectangles, open them back up and refold diagonally to create an “X” shape across each rectangle. These folds will be used later to interlock the shapes, providing added strength. The diagonal creases are also essential for making crisp, pointed edges.
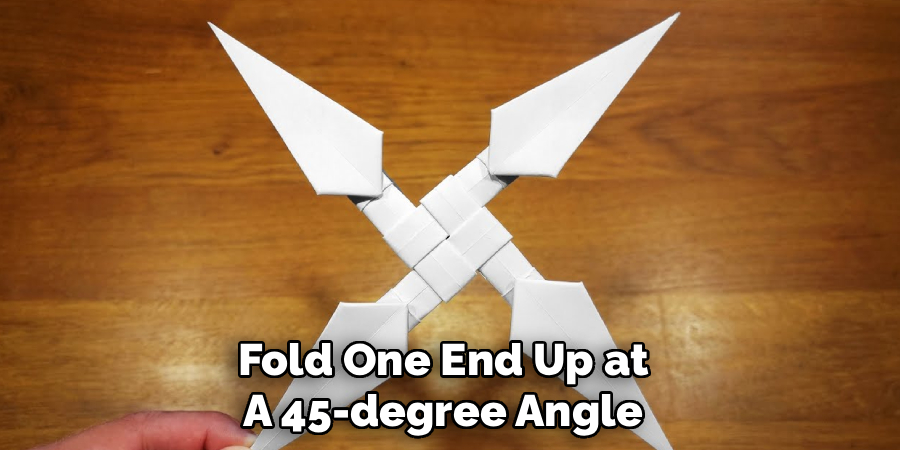
Step 4: Creating the Triangles
From each rectangle, fold one end up at a 45-degree angle so it lines up with the top edge, forming a right triangle. Do this for both the left and right ends of each rectangle. The result will be a zigzag fold pattern across the length of each piece.
Flip the rectangles over and do the same on the opposite side, so you have triangles pointing in opposite directions. This symmetry ensures that both halves of your ninja star will mesh perfectly when joined later.
Step 5: Making Opposite Folds for Balance
To add balance and symmetry to your ninja star, alternate your triangle folds in opposite directions along each rectangular piece. The folding pattern should look like a series of “mountain and valley” folds. This will help your star spin evenly and make it more effective when thrown.
Press down firmly on each fold so the creases hold their shape. Check that both rectangles are identical—this attention to detail now will prevent problems during assembly.
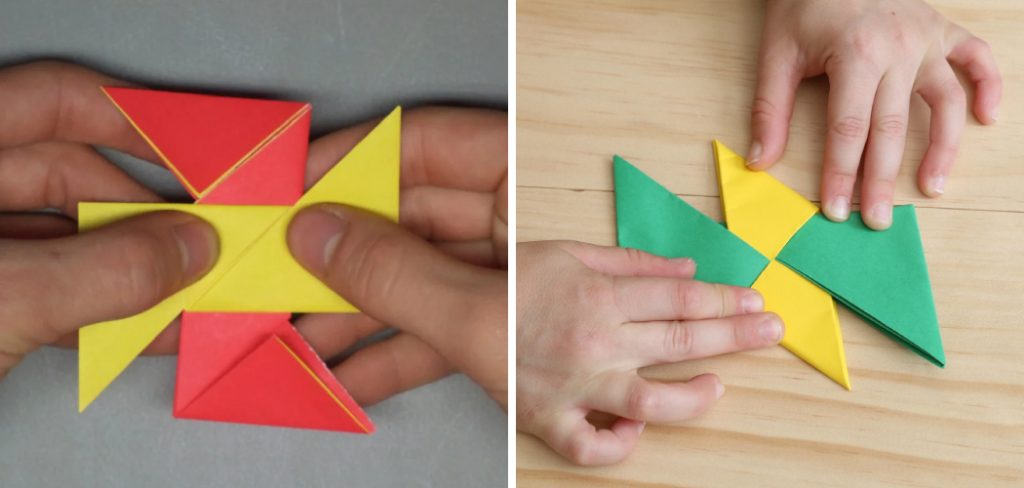
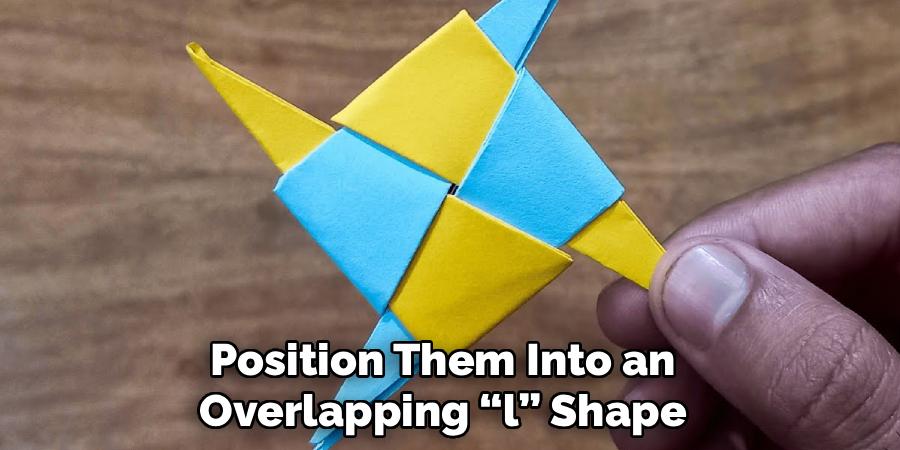
Step 6: Connecting the Two Halves
Take the two prepared rectangles and position them into an overlapping “L” shape, aligning the folded tips. Carefully slide one piece into the folds of the other, following the creases to guide the paper into place. This might require some gentle nudging and adjustments to get a precise fit.
Once connected, press down on the center where the pieces meet. This locks the ninja star’s two halves together. Be patient—sometimes the fit is tight, but patience here leads to a more durable and robust result.
Step 7: Locking the Points
Now that the two halves are connected, focus on the points of the star. Fold the ends of each piece over and tuck them into the creases of the opposite side. This will make the star much sturdier and reduce the likelihood of the star coming apart during use.
Go around the star, pressing each point tightly and making sure everything is symmetrical. After this step, your paper ninja star should look like a complete four-pointed star with sharp, defined edges.
Step 8: Reinforcing for Durability
To give your ninja star that extra bite, take a moment to reinforce the folds. Go over each crease a second time, pressing down with your fingernail or the edge of your ruler. This will make each point sharper and more resistant to bending or warping.
If you’d like, add a small strip of clear tape along each seam for extra strength. Just remember—don’t cover the points, as you want to keep them as sharp as possible while still maintaining the integrity of the star.
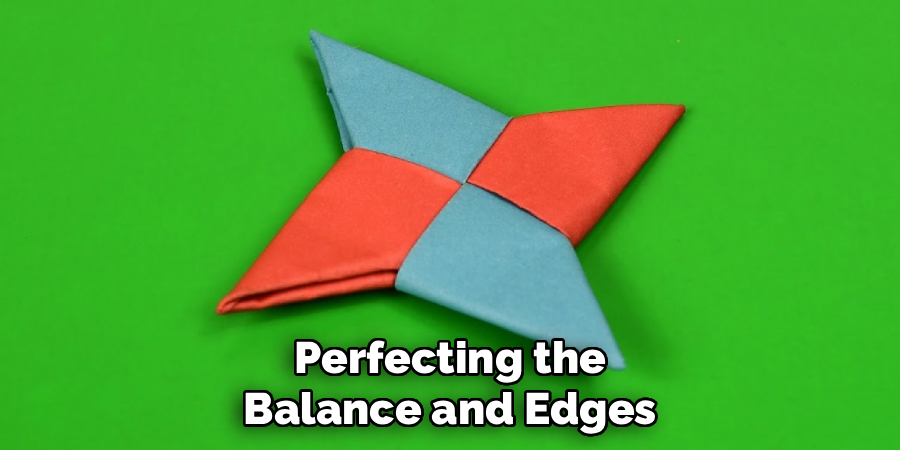
Step 9: Perfecting the Balance and Edges
With your ninja star now assembled and reinforced, test its balance by giving it a gentle spin or tossing it onto a soft surface. If it wobbles, check your folds and see if any adjustments are needed to tighten the shape. Sometimes, even a tiny adjustment can improve performance.
If your edges feel dull, you can use the flat side of your scissors to gently compress the points further. Remember, sharpening too much could make the star unsafe, so proceed carefully and always prioritize safety.
Step 10: Safety Tips and Proper Usage
Your paper ninja star is ready! But before you show it off, remember to use it responsibly. Never throw your ninja star at people or animals, and always practice in a safe space away from breakable objects. Soft targets like cushions or cardboard make excellent practice areas.
Always supervise younger crafters and remind them that, although made from paper, the star can still cause harm if used recklessly. Store your ninja star in a safe place and remember: practice makes perfect—so enjoy honing your throwing skills safely!
Following these steps on how to make a paper ninja star that hurts you will teach you everything about this.
Frequently Asked Questions
Q1: Is It Safe to Make and Use a Paper Ninja Star?
Making paper ninja stars can be quite safe, as long as you follow the proper steps and use common sense during both construction and use. It’s important to recognize that even a paper ninja star, especially one designed to “hurt,” can cause injury if misused. Always use your ninja star in a safe environment where there’s no risk to people, pets, or property. Supervision is suggested for younger children engaging in this activity.
Using sturdy paper increases the durability and “stinging” factor, but the intention should always be harmless fun—never inflicting real injury. Encourage responsibility among all participants, and never aim at anyone’s face or eyes.
Q2: What Can I Do to Make My Paper Ninja Star Hurt More?
The main factor influencing how much your ninja star can “hurt” is the sharpness of the points and the density created by tight folds. Using a slightly heavier paper, like cardstock or construction paper, can increase both weight and impact. Reinforcing the points with tape or extra folds also helps you achieve a denser, firmer object. Remember, increasing the hardness of your ninja star also increases the risk of injury, so assess your intentions carefully.
You can experiment with different folding techniques to create tighter and sharper edges. However, always keep safety in mind; focus on accuracy and technique rather than sheer strength or speed.
Q3: Can I Customize My Paper Ninja Star for Looks or Performance?
Absolutely! One of the joys of making a paper ninja star is the opportunity for creative personalization. You can use colored or patterned origami paper, add designs with markers, or even create multi-colored stars by mixing different paper types. For improved performance, pay special attention to the sharpness and symmetry of the points; a balanced star will fly truer and feel more satisfying to throw.
Adding decorative elements shouldn’t compromise the structural integrity, so be cautious not to add excessive weight or bulky adornments. Whether for aesthetics or function, experimentation is key to a unique and effective ninja star.
Conclusion
Crafting a paper ninja star that “hurts” combines the precision of traditional origami with the excitement of building your own throwing tool. By carefully following each step on how to make a paper ninja star that hurts—choosing the right materials, practicing detailed folds, and assembling with patience—you can create a star that is sturdy, sharp, and ready for action. Remember, the goal is to master the craft, impress with your skills, and always prioritize safety above all else.
With just paper, focus, and a bit of ingenuity, you’ve unlocked a project that’s great for personal enjoyment, school competitions, or friendly challenges. The more you fold, the better you’ll get—so don’t be afraid to experiment and perfect your design. Most importantly, have fun and share your creative results with friends who appreciate both the art of origami and the thrill of ninja adventures!
About the Author
Tyler Carson is a passionate beauty expert with a wealth of experience in makeup, hair, and overall beauty techniques. After years of working as a hairdresser specialist, she followed her entrepreneurial spirit and started her own consultancy business. Tyler has always been driven by her desire to help others feel confident in their own skin, and she does this by sharing her knowledge, experiences, and practical beauty tips. Through her consultancy, she empowers individuals to embrace their unique beauty, offering tailored guidance that boosts both self-esteem and personal style.
Professional Focus
- Specializes in makeup, hairstyling, and beauty consulting.
- Provides personalized beauty advice, tips, and techniques to help individuals feel confident in their appearance.
- Dedicated to staying up-to-date with the latest industry trends and developments.
- Passionate about creating a comfortable and empowering experience for every client.
Education History
- University of Craft and Design – Bachelor of Fine Arts (BFA) in Woodworking and Furniture Design
- Woodworking Apprenticeships – Extensive hands-on training with skilled craftsmen to refine carpentry and furniture making techniques
- Online Courses & Masterclasses – Continued education in advanced woodworking techniques, design principles, and specialized tools
Expertise:
- Makeup artistry, hairstyling, and beauty consulting.
- Personalized beauty techniques to enhance confidence and self-expression.
- Educating clients on how to maintain their beauty routines at home.