
Origami, the ancient Japanese art of paper folding, offers a world of creative possibilities, transforming a simple sheet of paper into intricate sculptures. Among the many charming designs, the origami hat stands out as a classic and accessible project for folders of all skill levels. It’s a wonderful entry point for beginners and a satisfying quick-fold for experienced artists.
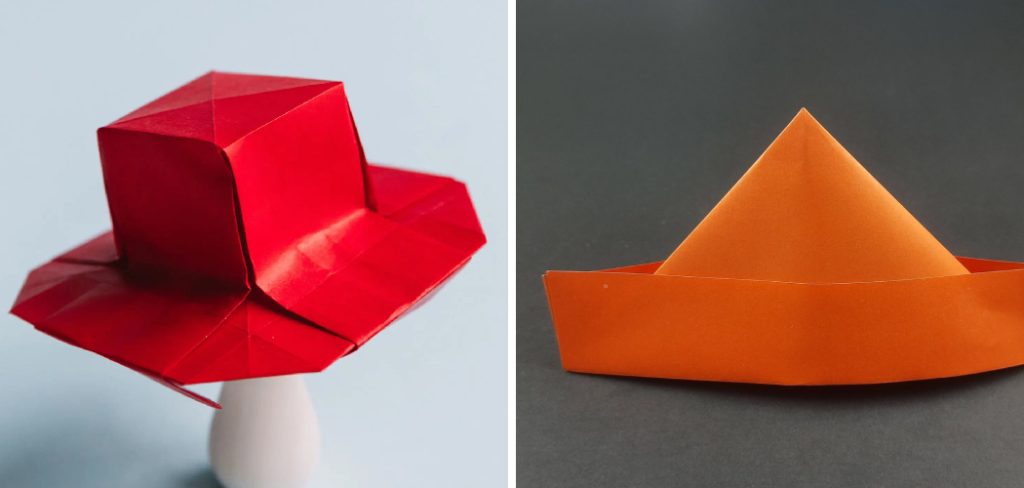
This guide on how to make hat origami will walk you through every fold and crease needed to create your very own paper hat. Whether you’re looking for a fun craft for a children’s party, a unique decoration, or simply a new skill to master, making an origami hat is a delightful and rewarding experience that requires minimal materials and just a little bit of patience.
Tools and Materials You’ll Need
To make your own origami hat, you’ll need a few basic tools and materials. These include:
- A square sheet of paper (any size, but the larger the paper, the bigger the resulting hat)
- Scissors (optional)
- Pencil (optional)
8 Simple Step-By-Step Guidelines on How to Make Hat Origami
Follow these eight detailed steps to fold your paper into a classic origami hat. We will start with a rectangular sheet of paper and, through a series of simple folds, transform it into a wearable piece of art. Take your time with each step to ensure your creases are neat and accurate.
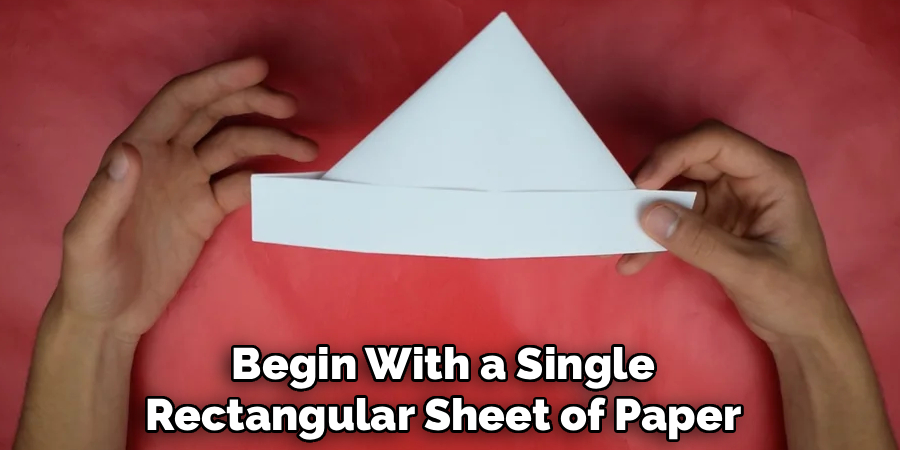
Step 1: Prepare Your Paper
The first step is the simplest but foundational for the entire project. Begin with a single rectangular sheet of paper. As mentioned earlier, a standard letter-sized sheet (8.5 x 11 inches) or A4 paper is ideal for a small, classic hat.
If you want to make a larger, more wearable hat, you should start with a full sheet of newspaper. Place the paper on your flat working surface in a portrait orientation, meaning the shorter edges are at the top and bottom, and the longer edges are on the sides. A smooth and clean surface is essential here, as any bumps or debris could interfere with your ability to make clean, straight folds.
Make sure your paper is free of any existing wrinkles or tears, as these can compromise the structure of your hat and make folding more difficult. This initial setup is crucial because every subsequent fold will build upon this foundation. Taking a moment to ensure your paper is positioned correctly and your workspace is clear will set you up for a smooth and successful folding process. A well-prepared start is the key to achieving a crisp, well-defined final product that looks neat and holds its shape effectively.
Step 2: Create the Center Crease
With your paper in portrait orientation, the next step is to create a central guideline. Take the top edge of the paper and fold it down to meet the bottom edge perfectly. Press down firmly along the fold to create a sharp, defined crease running horizontally across the middle of the paper.
Once you’ve made the crease, unfold the paper and return it to its original flat, portrait position. You should now see a distinct horizontal line bisecting your paper. This crease will serve as a vital reference point for the folds that follow, ensuring symmetry and proper alignment throughout the process.
This central crease is the backbone of your origami hat. Its accuracy will directly influence the balance and evenness of the final shape. Spend an extra moment to ensure the edges are perfectly aligned before you press down. If the crease is crooked, it’s best to flatten the paper and try again.
A precise central fold ensures that both sides of the hat will be identical, giving your creation a professional and polished appearance. This simple fold is a fundamental technique in many origami projects, and mastering it here will benefit you in future folding adventures.
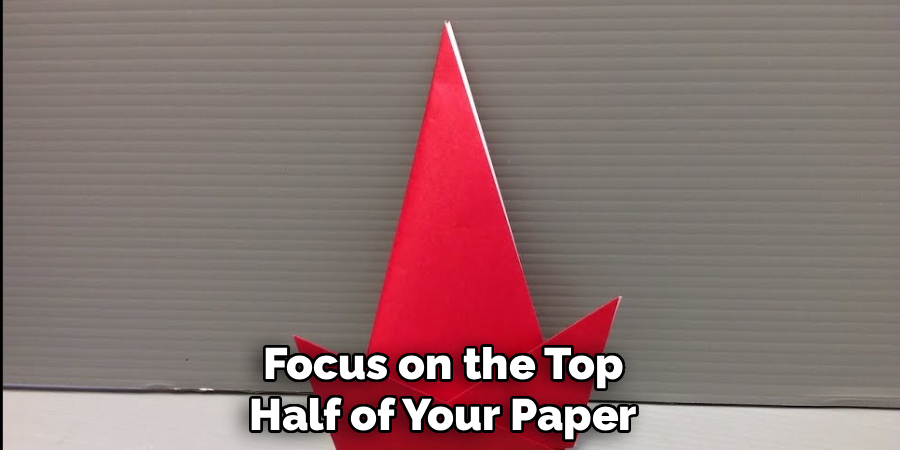
Step 3: Fold the Top Corners Inward
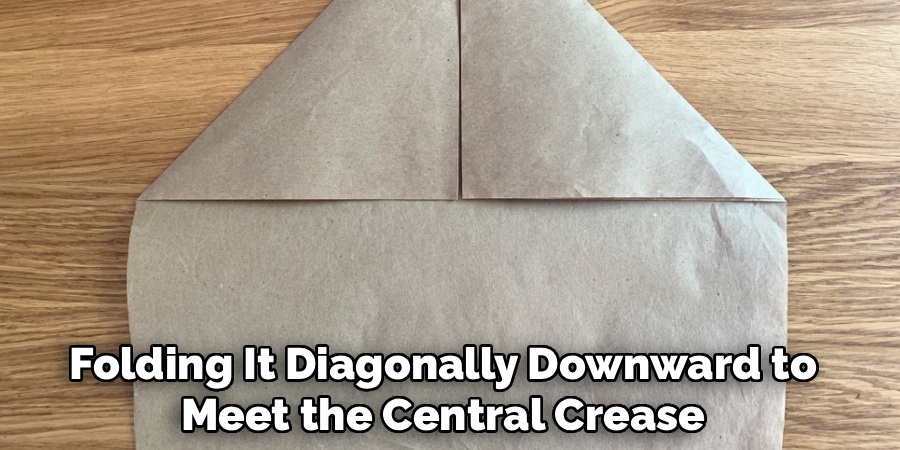
Now, focus on the top half of your paper, above the central crease you just made. Take the top right corner of the paper and fold it diagonally downward so that its top edge aligns perfectly with the central horizontal crease.
The corner should meet the center of the paper, forming a triangle on the right side. Press down firmly to create a sharp diagonal crease. Repeat this exact process with the top left corner, folding it diagonally downward to meet the central crease. The two folded corners should meet precisely at the center without overlapping, forming a large triangular point at the top of your paper.
You should now have a shape that resembles a house with a pointed roof. The two folded triangular flaps should be symmetrical. If one side looks larger than the other or if there is a gap between them at the center, unfold them and try again. Precision in this step is key to forming the iconic pointed shape of the hat. This fold transforms the simple rectangle into a more complex shape and is the most significant step in defining the hat’s structure. Take your time to get this right, as it will make all subsequent steps much easier to execute.
Step 4: Fold Up the Bottom Flap
Your paper should now have a pointed top and a rectangular section at the bottom. This bottom section consists of two separate layers or flaps of paper. For this step, you will only work with the top layer.
Identify the rectangular flap at the bottom of the paper that is facing you. Carefully take the bottom edge of this single flap and fold it upward, bringing it to the base of the two large triangles you created in the previous step. The fold should be a straight horizontal line running along the bottom edge of the triangles.
Press down firmly to create a strong, sharp crease. This newly folded flap will act as the first part of the hat’s brim. It also helps to lock the triangular folds in place, adding stability to the overall structure. Check to make sure the fold is perfectly horizontal and that it neatly aligns with the bottom of the triangles. A sloppy fold here can result in a crooked brim, so precision is important. This step begins to give the paper a more three-dimensional feel and clearly defines the lower edge of your hat.
Step 5: Flip and Fold the Second Flap
Now that you have folded up the front brim of the hat, it’s time to create the back brim. Carefully flip the entire paper model over, from left to right or top to bottom, so that the unfolded side is now facing you. You will see the back of the triangular point and the second rectangular flap at the bottom that has not yet been folded. This flap is identical to the one you just worked with on the other side. Take the bottom edge of this remaining rectangular flap and fold it upward to meet the base of the triangles, just as you did in the previous step.
Press down firmly along the fold to create another sharp, horizontal crease. This fold should mirror the one on the other side, completing the brim of the hat. Both brims should be of equal height and neatly aligned with the base of the main triangular section. This step locks the entire structure together, creating a pocket inside the hat. The symmetry between the front and back brims is crucial for the hat to stand up correctly and have a balanced appearance. Your paper should now look like a hat from both sides.

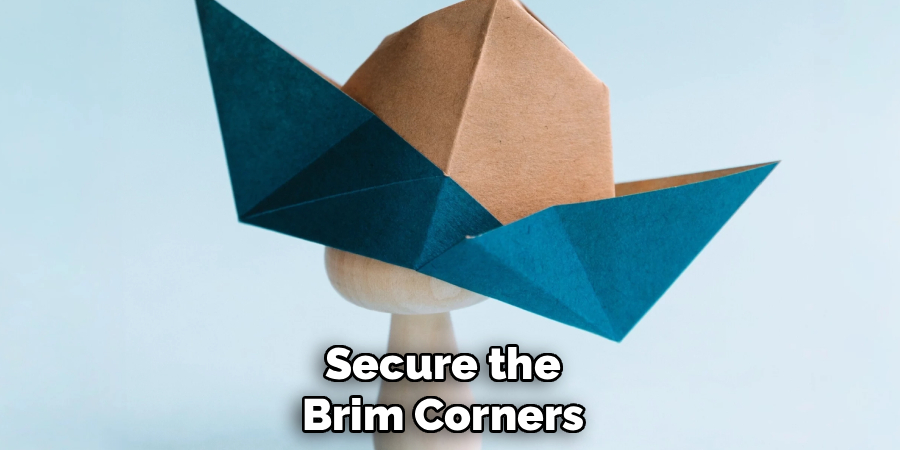
Step 6: Secure the Brim Corners
At this stage, your hat is mostly formed, but the brim might feel a bit loose at the corners. To secure it and give the hat a more finished look, you will make a few small tucks. Look at one of the bottom corners of the brim. You will notice a small piece of the brim that extends past the main triangular body of the hat. Take this small corner and fold it inward, tucking it around the edge of the triangle. It should wrap neatly around the side and stay in place. The fold should be small and tidy, just enough to secure the edge.
Repeat this process for the other bottom corner of the brim. Flip the hat over and do the same for the two corners on the other side. You will be making four small folds in total. These tucks not only make the hat look neater but also help to lock the brim in place, preventing it from unfolding. This step adds durability and a professional finish to your project. It’s a subtle detail, but it makes a significant difference in how well the hat holds its shape, especially if it’s going to be worn.
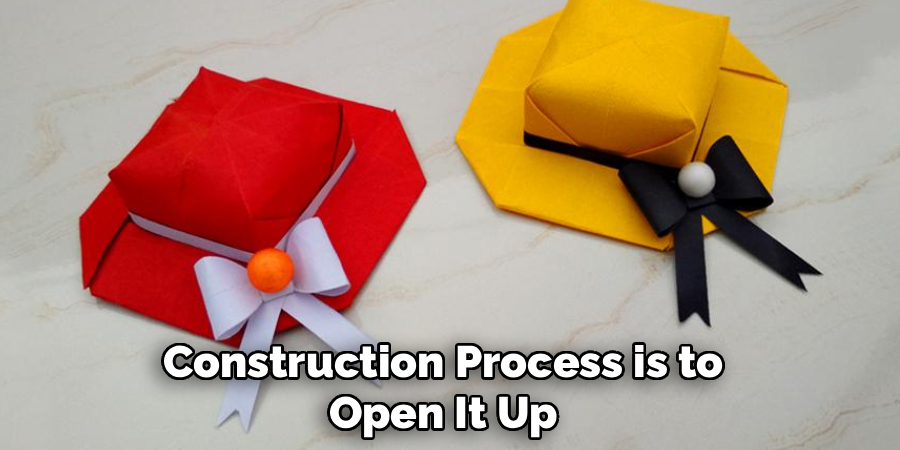
Step 7: Open Up the Hat
Your origami hat is now fully folded, but it is still flat. The final step in the construction process is to open it up and give it its three-dimensional form. Gently hold the hat by its brim, with your fingers on the outside of the left and right sides.
Carefully pull the two sides of the brim apart. As you do this, you will see the center of the hat begin to open up. Place your fingers inside the base of the hat and gently push outward to help shape it. You are essentially creating a pocket.
Continue to gently expand the base until it forms a hollow, hat-like shape. The central peak should stand up, and the brim should form a stable base. You can adjust the shape by gently creasing the sides to make them more defined. Be careful not to pull too hard or you might tear the paper, especially at the corners. Once opened, your hat should be able to stand on its own on a flat surface. This exciting step is where your flat piece of folded paper finally transforms into a recognizable object.
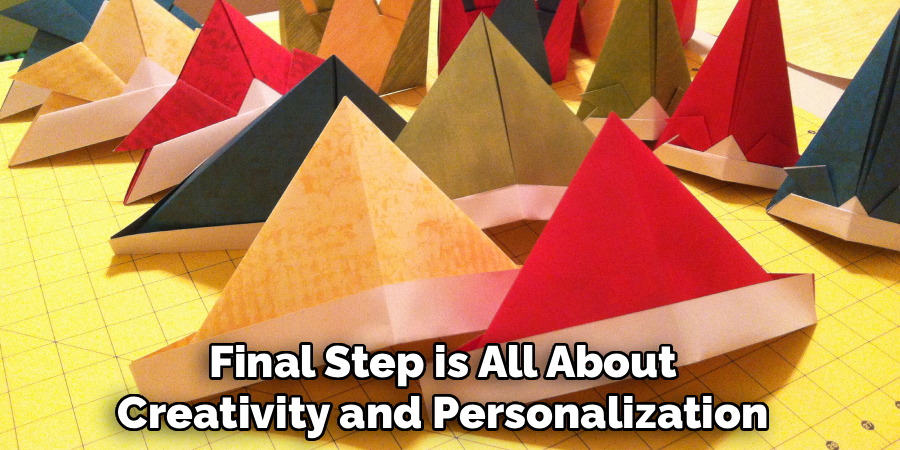
Step 8: Decorate and Customize
With the folding complete and your hat standing proud, the final step is all about creativity and personalization. This is your chance to turn a simple paper hat into a unique masterpiece. You can use a wide array of materials to decorate it. Markers and crayons are perfect for drawing patterns, symbols, or even a name on the brim. You could add stickers of your favorite characters or shapes for a quick and fun embellishment. For a bit of sparkle, consider using glitter glue to outline the brim or add dazzling designs to the body of the hat.
If you made a larger hat from newspaper, you could even add a feather for a classic pirate or adventurer look. Painting the hat is also an option, though you should use paint sparingly to avoid making the paper too wet and causing it to lose its shape. This step is particularly enjoyable for kids, as it allows them to express their artistic side and take ownership of their creation. There are no rules here—let your imagination run wild and design a hat that reflects your personal style.
Following these steps on how to make hat origami is a fun and creative way to spend some time with friends and family. You can even hold a hat-making competition and see who can create the most unique and stylish hat.
Do You Need To Use Professionals?
Absolutely not. Making an origami hat is a quintessential do-it-yourself craft that is designed to be accessible to everyone, regardless of age or artistic experience. The entire process requires no special skills beyond the ability to fold paper. In fact, seeking professional help for such a project would defeat its purpose, which is to provide a fun, engaging, and hands-on activity.
The charm of origami lies in the personal satisfaction of creating something with your own hands. This project is an excellent starting point for anyone new to paper folding and serves as a simple, enjoyable task for seasoned folders.
How Much Will It Cost?
The cost of making an origami hat is incredibly low, and in many cases, it can be completely free. The only essential material is a rectangular piece of paper, which you likely already have at home. You can use a sheet of printer paper, a page from an old notebook, or even a sheet of newspaper.
These options cost nothing. If you wish to purchase special paper, such as colored construction paper or decorative origami paper, the cost is still minimal. A pack of origami paper can be bought for just a few dollars and will provide enough material for many hats and other projects. Any additional costs would come from optional decorative supplies like markers or stickers, which are also generally inexpensive.
Frequently Asked Questions
Q1: How Long Does It Take to Make a Hat Origami?
A1: The time it takes to make an origami hat is very short, making it a great project for those looking for a quick craft. For a first-timer, following the steps carefully might take around 10 to 15 minutes. An experienced folder, or someone making their second or third hat, can likely complete one in just 2 to 5 minutes. The process is straightforward, and once you understand the sequence of folds, it becomes a quick and easy task to repeat.
Q2: What Is the Best Paper for a Wearable Origami Hat?
A2: If you intend for the hat to be worn, especially by an adult or for an extended period, the best choice of paper is a full sheet of newspaper. Its large size creates a hat that is big enough to fit comfortably on most heads.
Newspaper is also lightweight and flexible, yet surprisingly durable when folded. For a smaller, more decorative hat for a child or a doll, sturdier paper like construction paper or cardstock can be a good option as it holds its shape well.
Q3: Can I Make an Origami Hat from Square Paper?
A3: While most origami models famously start with a square sheet of paper, the traditional origami hat is one of the notable exceptions that requires a rectangular sheet. The proportions of a rectangle are essential for forming the distinct brim and the tall, pointed shape of the hat. If you only have square paper, you can simply cut it into a rectangle to begin. Attempting to use a square sheet without modification will result in a different, misshapen final product.
Conclusion
Creating an origami hat is a simple, enjoyable, and gratifying craft that brings the magic of paper folding to life. With just a single sheet of paper and a few minutes of your time, you can construct a charming hat that can be used for play, decoration, or as a fun party activity. This guide on how to make hat origami has provided you with all the steps and tips needed to successfully fold your own paper creation, from the initial crease to the final decorative touches.
The beauty of this project lies in its accessibility and the room it leaves for personalization. We encourage you to gather your paper, find a flat surface, and give it a try. You might be surprised at how easy and satisfying it is to transform a simple rectangle into a three-dimensional work of art. Happy folding
About the Author
Tyler Carson is a passionate beauty expert with a wealth of experience in makeup, hair, and overall beauty techniques. After years of working as a hairdresser specialist, she followed her entrepreneurial spirit and started her own consultancy business. Tyler has always been driven by her desire to help others feel confident in their own skin, and she does this by sharing her knowledge, experiences, and practical beauty tips. Through her consultancy, she empowers individuals to embrace their unique beauty, offering tailored guidance that boosts both self-esteem and personal style.
Professional Focus
- Specializes in makeup, hairstyling, and beauty consulting.
- Provides personalized beauty advice, tips, and techniques to help individuals feel confident in their appearance.
- Dedicated to staying up-to-date with the latest industry trends and developments.
- Passionate about creating a comfortable and empowering experience for every client.
Education History
- University of Craft and Design – Bachelor of Fine Arts (BFA) in Woodworking and Furniture Design
- Woodworking Apprenticeships – Extensive hands-on training with skilled craftsmen to refine carpentry and furniture making techniques
- Online Courses & Masterclasses – Continued education in advanced woodworking techniques, design principles, and specialized tools
Expertise:
- Makeup artistry, hairstyling, and beauty consulting.
- Personalized beauty techniques to enhance confidence and self-expression.
- Educating clients on how to maintain their beauty routines at home.