
Origami, the ancient Japanese art of paper folding, offers a beautiful way to create stunning objects from a single sheet of paper. Among the most popular creations are origami flowers, which capture the delicate beauty of nature in a lasting form. These paper blossoms make wonderful decorations, thoughtful gifts, and a relaxing, mindful craft for people of all ages. They offer a unique blend of artistry and precision.
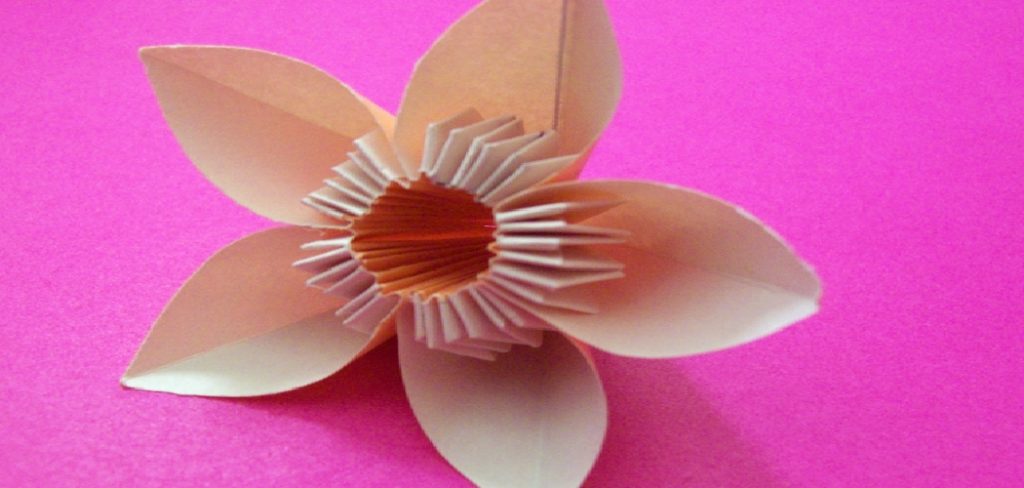
This guide on how to make origami flowers will walk you through everything you need to know to start crafting your own floral masterpieces. From the basic materials to step-by-step instructions for a classic tulip, you’ll gain the skills and confidence to explore the world of paper folding. We will cover the entire process, providing tips and tricks to help you create beautiful, intricate flowers that you can be proud of. Get ready to transform a simple piece of paper into a work of art.
Tools and Materials You’ll Need
To get started with origami flowers, you’ll need a few essential tools and materials. These include:
Origami Paper:
This is the most important material for creating origami flowers. You can find it in various sizes, colors, and patterns at your local craft store or online. It’s important to use origami paper because it is specifically designed for folding and holds its shape well.
Scissors:
While most origami projects only require folding, some flowers may need a little bit of cutting to create the desired shape. Make sure to have a pair of small scissors handy in case you need them.
Ruler:
A ruler can come in handy when measuring and creating precise folds. This will ensure that your petals and leaves are all uniform in size.
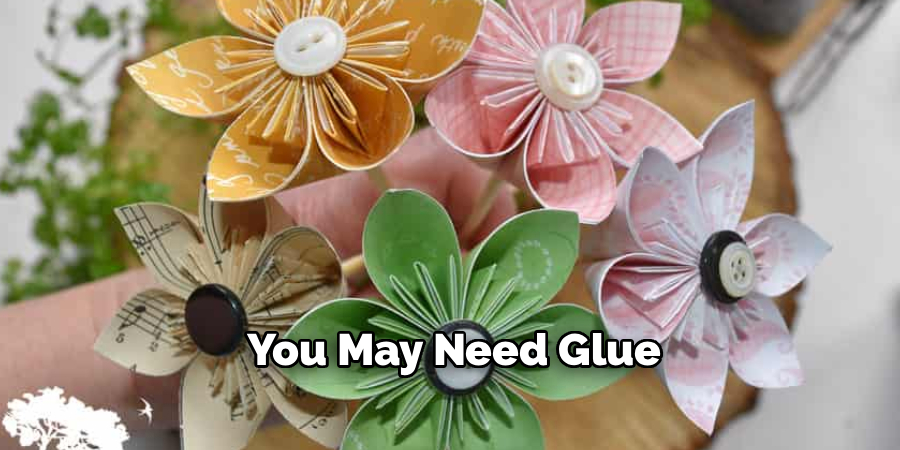
Glue or Double-Sided Tape:
Depending on the type of flower you’re making, you may need glue or double-sided tape to hold certain parts together. Make sure to have some on hand just in case.
Floral Wire or Pipe Cleaners:
Some more complex flower designs may require the use of floral wire or pipe cleaners to create a sturdy stem. These can also be used to attach individual petals and leaves together.
8 Simple Step-By-Step Guidelines on How to Make Origami Flowers
Step 1: Create the Initial Base Folds
Begin with a square piece of origami paper, colored side up. The first step is to create the foundational creases that will guide all subsequent folds. Fold the paper in half diagonally to form a triangle, making sure the corners align perfectly. Unfold it and then fold it in half along the other diagonal. Unfold the paper again. You should now have two diagonal creases that intersect in the center, forming an ‘X’ on your paper. These initial folds are critical for establishing the structure of the flower.
Now, flip the paper over so the white side is facing up. Fold the paper in half horizontally, crease it sharply, and then unfold. Do the same vertically, folding it in half, creasing, and unfolding. When you’re done, your paper will have an ‘X’ crease on one side and a ‘+’ crease on the other. These preparatory folds weaken the paper along specific lines, making the next collapse fold much easier to execute and ensuring your model has the correct symmetry and form.
Step 2: Form the Water Bomb Base
This step involves collapsing the paper into a foundational shape known as the water bomb base, which is used for many different origami models. With the colored side facing up, gently push the center of the paper downwards. The creases you made in the previous step will naturally guide the paper. Bring the left and right horizontal crease points inward towards the center. As you do this, the top and bottom sections will fold down over them.
Flatten the model carefully, bringing all four original corners of the square together at one point. The resulting shape should be a smaller, layered triangle with two flaps on each side. This compact triangle is the water bomb base. Take your time with this step, as a neat and precise base is essential for a clean final product. Ensure all the edges are aligned and the point where the corners meet is sharp.
Step 3: Fold the Petal Flaps Upwards
Position the water bomb base on your flat surface with the open point facing away from you. You will now create the initial shape of the tulip’s petals. Take the top layer of the right flap and fold it upwards so that its bottom edge aligns with the center vertical line of the triangle. Make a sharp crease. The corner of this flap should now be pointing directly upwards, aligned with the top point of the base.
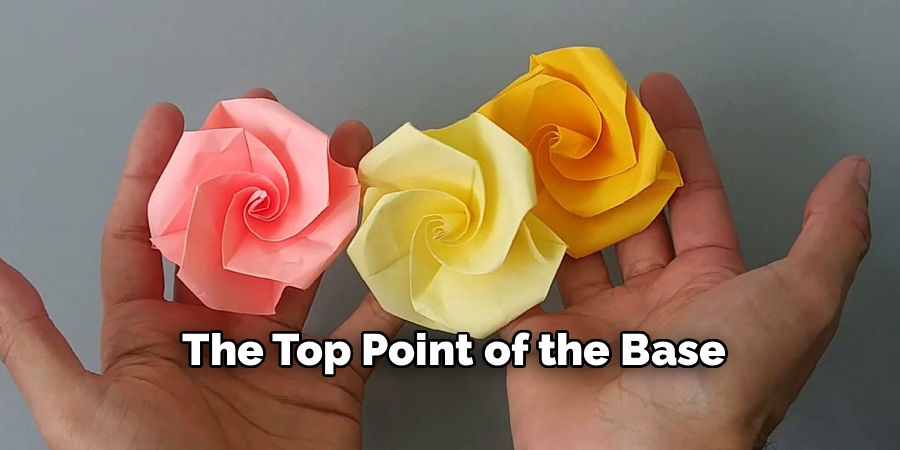
Repeat this process for the top layer of the left flap. Fold it upwards so that its bottom edge also meets the center line. Your model should now look like a diamond or kite shape, with two smaller triangular flaps folded in the middle. This symmetrical fold is crucial for creating balanced petals. Ensure both flaps are folded neatly and lie flat against the base.
Step 4: Flip the Model and Repeat
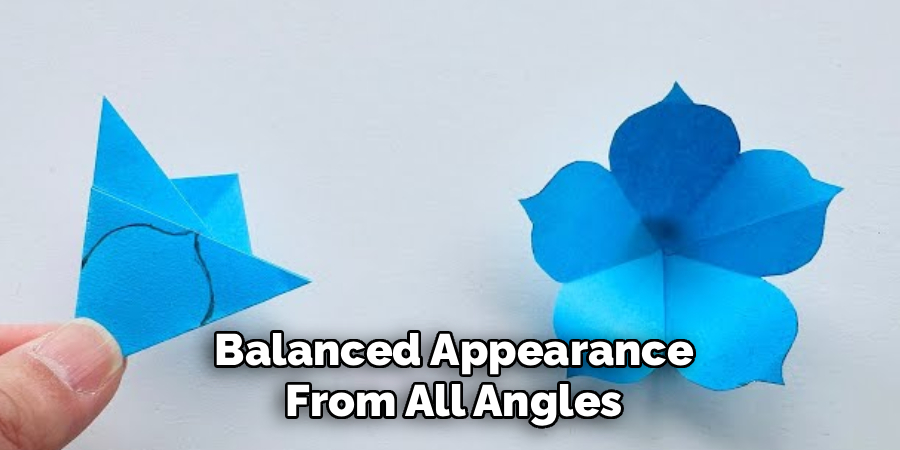
Once you have folded the front two flaps, carefully flip the entire model over. You will see the same two triangular flaps on this side as you did on the front. The goal is to replicate the folds you just made to create a perfectly symmetrical shape that will become the four petals of your tulip. This repetition ensures that the flower will have a uniform and balanced appearance from all angles.
Just as you did in the previous step, take the top layer of the right flap and fold it upwards to meet the central vertical line. Crease it firmly. Then, do the same with the top layer of the left flap, folding it to the center as well. Your model should now look identical on both the front and back, forming a clean diamond shape. This symmetrical structure is the core of the tulip blossom.
Step 5: Shape the Petal Points
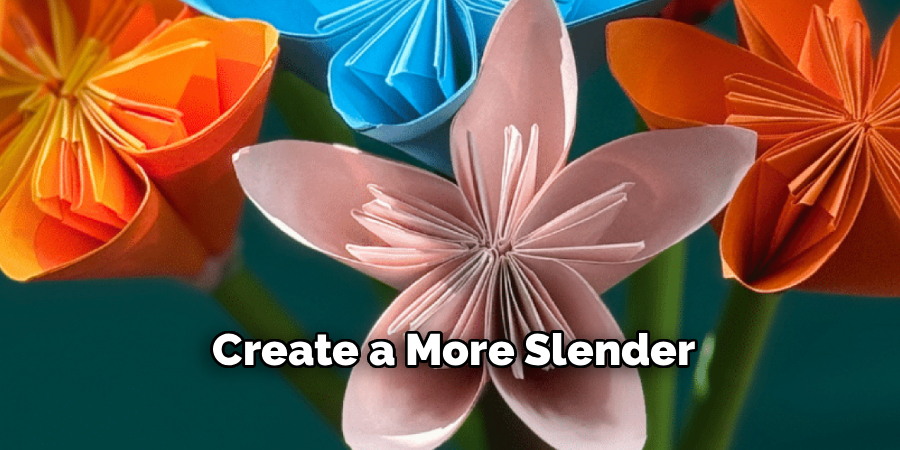
Now it’s time to refine the shape of the petals. Look at the diamond shape you’ve created. Focus on one of the outer corners on the right side. Take this corner and fold it inwards towards the center line, but not all the way. You want to fold it about two-thirds of the way to the center. This creates a more tapered, petal-like shape rather than a sharp point. Crease this fold firmly.
Repeat this fold for the corresponding outer corner on the left side, folding it inwards by the same amount. Then, flip the entire model over and repeat these two folds on the other side. You are essentially tucking in the wide corners of the diamond to create a more slender and elegant flower profile. All four of these folds should be symmetrical to ensure the finished tulip is well-balanced.
Step 6: Perform the Tuck Fold
This is perhaps the trickiest, yet most rewarding, step in creating the tulip blossom. You will be tucking one flap into another to create a secure, three-dimensional shape. Hold the model so you are looking at one side. You should see two main flaps that meet in the center. Carefully open the right flap slightly, like opening a pocket.
Now, take the entire left flap and gently tuck it inside the pocket of the right flap. Slide it in as far as it will go comfortably. The goal is to interlock the two sides. This can be a bit tight, so be gentle to avoid tearing the paper. Once tucked, press the model flat to secure the fold. This locking mechanism holds the flower’s shape without needing any glue and is a common technique in more advanced origami.
Step 7: Inflate the Tulip Blossom
Your flat model is now ready to be transformed into a three-dimensional flower. Hold the model with the tucked side facing you and the pointed end (where all the layers meet) facing down. You will notice a small hole at this pointed end. This is where you will blow air into the model to inflate it, much like blowing up a small balloon.
Bring the hole to your lips and blow a short, steady puff of air into the opening. The paper should expand and puff out, forming the rounded body of the tulip blossom. You may need to gently pull the petals apart with your fingers as you blow to help it take shape. Be careful not to blow too hard, as this could deform the creases or cause the model to come apart.
Step 8: Curl the Petals and Finish
The final step is to add a touch of realism to your tulip. With the blossom now inflated, you have four petal points at the top. Gently peel back each of these four points, curling them outwards. You can do this by carefully rolling the tip of the paper around a pencil or your finger to create a soft, natural-looking curl. This simple action transforms the geometric shape into a delicate, blooming flower.
Adjust the curls until you are happy with the look. You can make them tight or loose depending on your preference. Your origami tulip blossom is now complete! You can create a simple stem by rolling a piece of green origami paper into a thin tube and inserting it into the hole at the base of the flower. Make several flowers to create a beautiful paper bouquet.
Following these steps on how to make origami flowers can be a fun and creative activity for all ages. You can use different colors and sizes of paper to create a variety of flowers, or even mix and match designs to make a unique arrangement.
Common Mistakes to Avoid
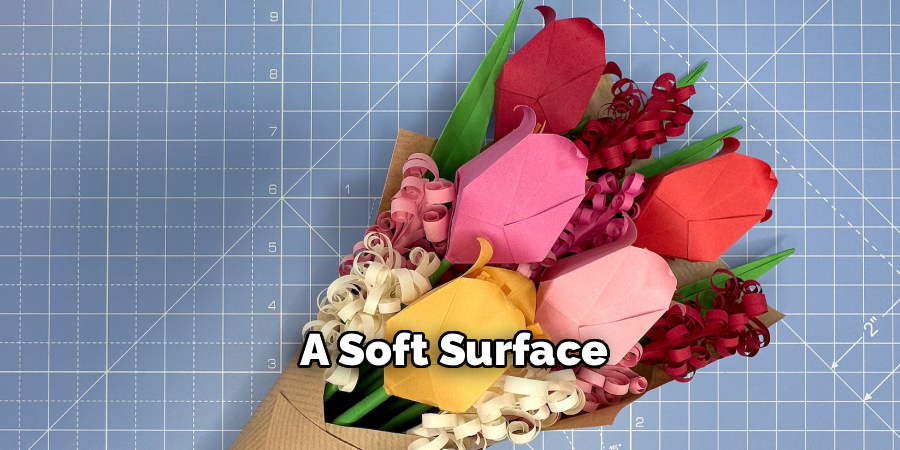
When starting out, it’s easy to make a few common errors. Avoid using thick paper like cardstock, as it’s difficult to fold accurately and can crack at the creases. Always work on a hard, flat surface to ensure your folds are as precise as possible. A soft surface, like a bed, will lead to rounded, inaccurate creases.
Be careful not to reverse folds by accident; pay close attention to whether a fold should be a “valley” (folding towards you) or a “mountain” (folding away from you). Don’t rush; taking your time ensures each fold is correct. Lastly, resist the urge to fix a mistake by simply refolding; it’s often better to unfold a few steps and correct it properly.
Frequently Asked Questions
Q1: What Is The Best Type Of Paper For Origami Flowers?
A1: The best paper is standard origami paper, often called “kami.” It is lightweight, holds a crease perfectly, and is easy to fold. It comes in a wide variety of colors and patterns, allowing for great creativity. For more durable or textured flowers, you can try washi paper, which is a bit thicker and often has beautiful traditional Japanese designs. Foil paper is another option that creates a shiny, metallic effect and holds its shape very well.
Q2: How Can I Make My Origami Flowers Look More Realistic?
A2: To add realism, focus on the finishing touches. Gently curling the petal edges, as described in the tulip instructions, makes a huge difference. You can also use paper of varying shades of the same color to create depth. For instance, use a slightly lighter shade for inner petals. Adding a stem made from floral wire wrapped in green floral tape and attaching a few simple green paper leaves can elevate your single blossom into a complete, lifelike creation.
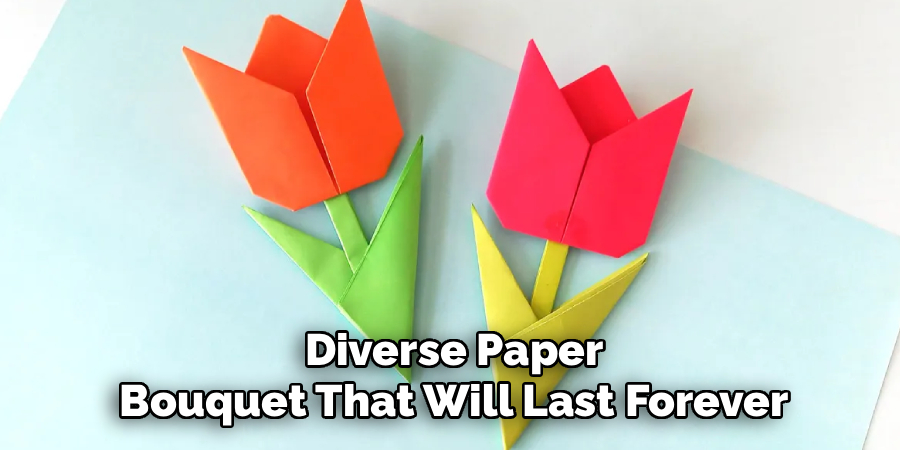
Q3: Can I Create A Bouquet With Origami Flowers?
A3: Absolutely! Creating a bouquet is a wonderful way to display your work. After making several flowers, attach each one to a stem using floral wire and tape. You can vary the lengths of the stems to create a more dynamic arrangement. Gather the stemmed flowers together and wrap the base with ribbon or place them in a vase. Mixing different types of origami flowers, like roses, lilies, and tulips, can result in a stunning and diverse paper bouquet that will last forever.
Conclusion
Creating origami flowers is a rewarding and meditative craft that allows you to produce something beautiful with just your hands and a piece of paper. The process combines precision, patience, and a touch of magic as a flat square transforms into a three-dimensional blossom. From the simple tulip to more complex roses and lilies, the possibilities are endless.
We hope this guide has inspired you to begin your paper-folding adventure. With the steps and tips provided, you have a solid foundation for creating not just tulips, but a whole garden of paper flowers. Embrace the process, enjoy the quiet focus it brings, and share your beautiful creations with others. Thanks for reading this guide on how to make origami flowers.