
A beautifully wrapped gift builds anticipation and shows the recipient just how much you care. While store-bought paper is convenient, there is a unique charm and thoughtfulness that comes with a custom-designed wrap. Creating your own is a fun, creative, and often eco-friendly way to make any present feel extra special. It allows you to tailor the design to the occasion, the person, or an inside joke, turning the wrapping itself into part of the gift. This guide will provide simple, beginner-friendly techniques and ideas on how to make your own wrapping paper, using materials you likely already have at home.
Whether you’re preparing for a birthday, a holiday, or just a thoughtful surprise, crafting your own wrapping paper adds a personal touch that store-bought options simply can’t match. It’s an opportunity to use your creativity while making something truly one-of-a-kind. Plus, it’s a great way to reuse items you already have, reducing waste and giving old materials a new purpose. With just a few supplies and some imagination, you can elevate any gift into a memorable and heartfelt gesture.
Preparation Before Designing
Before you begin crafting your custom wrapping paper, it’s important to gather all the necessary supplies and set up your workspace. Start by selecting a base material for your wrapping paper—this could be plain kraft paper, newspaper, or even old maps for a more unique look. Next, collect tools like scissors, tape, paint, markers, stamps, or any other decorative items you’d like to use.
Ensure your workspace is clean and spacious enough to accommodate your materials and give you room to work comfortably. If you’re planning to work with paints or glitter, consider laying down a protective covering to make cleanup easier. Taking the time to organize your materials and prepare your space will set the stage for a smooth and enjoyable crafting session.
Step-by-Step Guide on How to Make Your Own Wrapping Paper
Step 1: Gather Your Base Paper
The foundation of your project is the paper itself. You have many options here. A roll of plain brown kraft paper is inexpensive, durable, and provides a wonderful rustic canvas for your designs. Simple white butcher paper or easel paper also works perfectly. For smaller gifts, you can even upcycle materials like newspaper, old maps, or sheet music. Once you have your paper, gather your creative tools. This could include acrylic or tempera paints, ink pads and stamps, markers, crayons, sponges, and even natural items like leaves or flowers for printing.
Step 2: Set Up Your Workspace
Creating your own wrapping paper can be a wonderfully messy process, so setting up a dedicated workspace is key. Lay down a protective covering like old newspapers, a plastic tablecloth, or a drop cloth to protect your table or floor from spills and splatters. Roll out a large sheet of your chosen base paper and secure the corners with tape to keep it from curling up or shifting while you work. Arrange your paints, stamps, and other supplies so they are within easy reach. This preparation makes the creative process smoother and the cleanup much faster.
Step 3: Create Simple Stamps for Printing
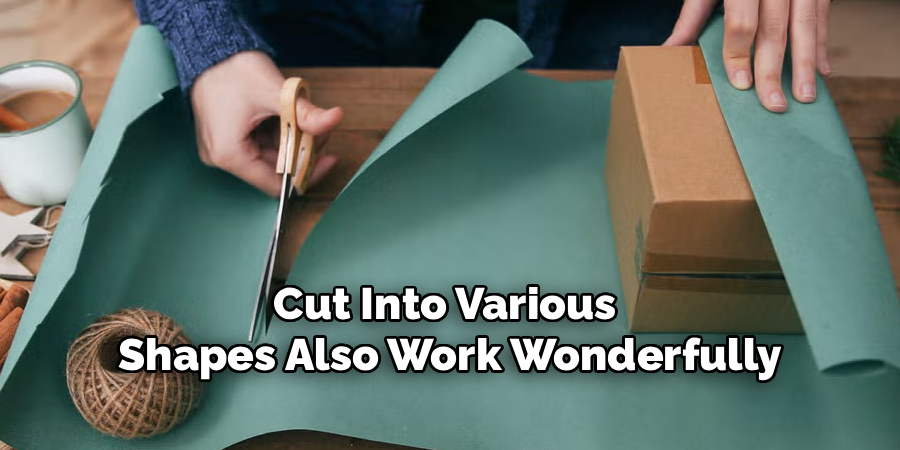
Hand-carved stamps are a fantastic way to create a repeating pattern. One of the easiest methods is to use a potato. Simply cut a potato in half, and then carve a simple shape—like a star, a heart, or a tree—into the flat surface. You can also use household items as stamps, such as the rim of a cup to make circles, a cork for smaller dots, or even the end of a celery stalk to create a floral shape. Sponges cut into various shapes also work wonderfully. These simple, homemade tools are perfect for making unique, repeating designs.
Step 4: Start Stamping and Painting
This is where the real fun begins. Pour a small amount of paint onto a paper plate to use as your palette. Dip your homemade stamp into the paint, blot off any excess, and press it firmly onto your paper. You can create an orderly, repeating pattern or a more random, scattered design. Experiment with different colors and shapes. You can also use a paintbrush to flick paint for a splatter effect, or use a sponge to create a soft, textured background color before you begin stamping your main design. Let your creativity guide you.
Step 5: Experiment with Other Design Techniques
Stamping is just one of many options. You can use markers or paint pens to draw intricate doodles, write a message that repeats across the paper, or create a personalized pattern. Another beautiful technique is leaf printing. Brush a thin layer of paint onto the back of a leaf and press it onto the paper to transfer its delicate veining and shape. For a simple, modern look, you can use a ruler and a marker to draw a clean grid or a series of bold stripes. Combining different techniques can lead to wonderfully unique results.
Step 6: Add Some Sparkle
If you want to add a bit of glamour to your design, consider incorporating some sparkle. While the paint or ink is still wet, you can sprinkle fine glitter over the surface. The glitter will adhere to the wet areas and can be sealed with a light coat of spray adhesive once dry. You could also use metallic paint pens to add shimmering highlights or outlines to your stamped shapes. These little touches can elevate your simple design and make it perfect for festive occasions like birthdays or holidays.
Step 7: Let Your Wrapping Paper Dry Completely
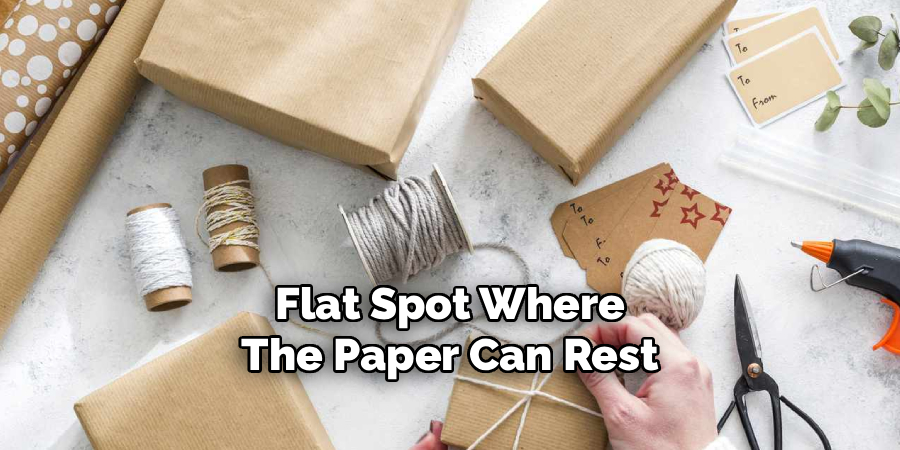
Patience is a virtue in this final creative step. Once you are happy with your design, you need to let the paper dry completely. The drying time will vary depending on the type of paint you used and how thickly it was applied, but it could take several hours. It is crucial that the paper is bone-dry before you attempt to use it, otherwise, the paint could smudge, stick to itself, or transfer onto your gift. Find a safe, flat spot where the paper can rest undisturbed until it is fully dry to the touch.
Eco-friendly Wrapping Alternatives
If you’re looking for eco-friendly wrapping alternatives, there are plenty of creative and sustainable options to consider. For instance, you can use recycled brown kraft paper, which can be decorated with natural elements like dried flowers, twine, or leaves for a personalized touch. Fabric wrapping, inspired by the Japanese tradition of Furoshiki, is another excellent option.
Old scarves, bandanas, or fabric scraps can be tied in beautiful ways and reused by the recipient. Newspaper, pages from old magazines, or sheet music also make unique and environmentally friendly wrapping materials. For an added eco-touch, avoid plastic tape and opt for biodegradable string or washi tape to secure your wrapping. These alternatives not only reduce waste but also add a unique charm to your gifts.
Frequently Asked Questions (FAQ)
What Is the Best Paper to Use for Making Wrapping Paper?
Brown or white kraft paper is the most popular choice because it is affordable, sturdy, and provides a neutral background for your designs. You can buy it in large rolls in the mailing section of most office supply or craft stores. Butcher paper and kids’ art easel paper are also excellent, readily available options.
Can I Use Regular Printer Paper to Make Wrapping Paper?
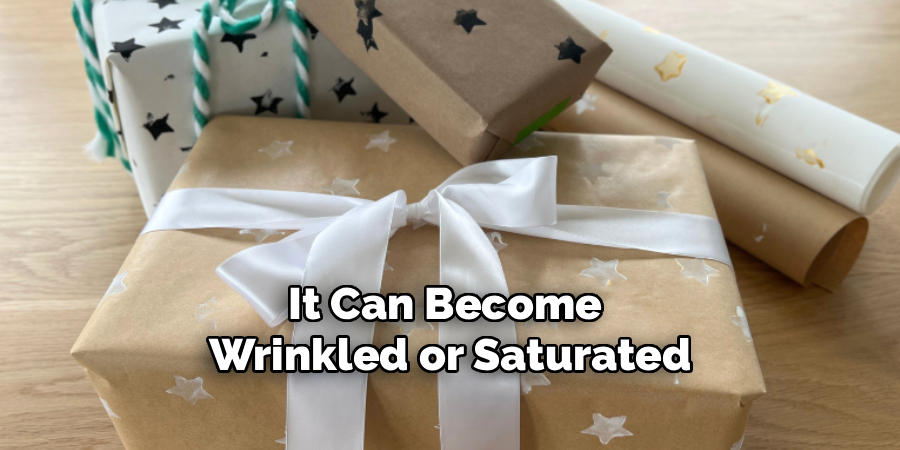
While you can decorate regular printer paper for very small gifts, it is not ideal. It is quite thin, so it can tear easily when folding around corners, and if you use a lot of paint, it can become wrinkled or saturated. It is best used for wrapping tiny items like jewelry boxes.
What Kind of Paint Works Best on Paper?
Water-based paints like acrylic craft paint or tempera paint are the best choices. They are inexpensive, come in a huge range of colors, and clean up easily with water. They also dry relatively quickly on paper without making it too stiff. Ink pads used for rubber stamping also work perfectly and offer a very clean look.
How Can I Make My Wrapping Paper Without Making a Big Mess?
Preparation is key to minimizing mess.
- Cover your work surface with a drop cloth or newspaper.
- Wear an apron or old clothes.
- Pour only small amounts of paint onto your palette at a time.
- Keep a roll of paper towels and a container of water nearby for quick cleanups.
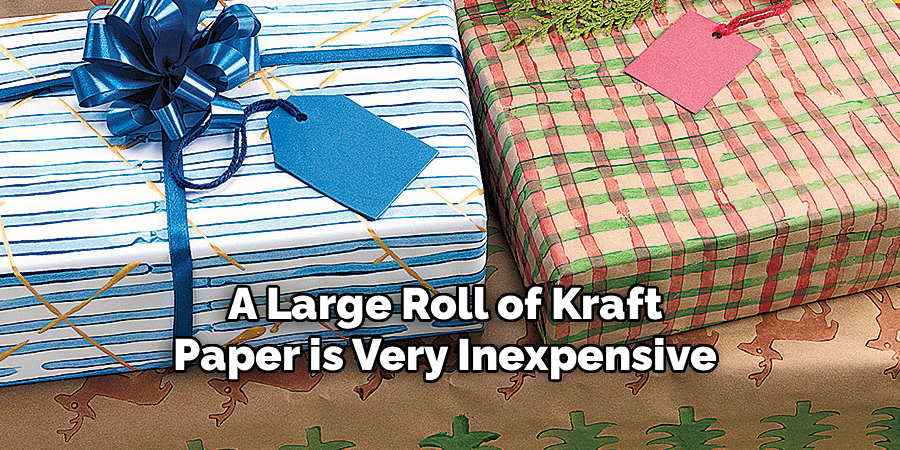
Is It Cheaper to Make Your Own Wrapping Paper?
It can be, especially if you use materials you already have. A large roll of kraft paper is very inexpensive and can last for many occasions. When you factor in the cost of basic craft paints versus buying multiple rolls of specialty store-bought paper, making your own is often a very budget-friendly option.
Conclusion
Creating your own wrapping paper is more than just a craft project; it’s a way to infuse every gift with personality and care. The process is simple, allowing for endless creativity through stamping, painting, and drawing. It’s a chance to slow down and add a handmade, personal element that can’t be bought in a store. By starting with a simple roll of paper and some basic supplies, you can design a wrap that is truly unique and memorable. Now that you have some ideas on how to make your own wrapping paper, you’re ready to transform your next gift into a work of art.